
Google Earth:ピンポイント目撃者ロケーション。
画像がどこで撮影されいつアップロードされたのか調べてみましょう。
Google Earthについて知る
写真またはビデオを正常に検証するには、どこでいつ誰が撮影したのか確認する必要があります。
インタラクティブな仮想地球儀であるGoogle Earthは、ロケーションを特定するための最初のステップを迅速に完了するのに役立ちます。
ソーシャルメディアに出現するニュース価値のあるイメージは、多くの場合、ビルやランドマークなどロケーションを特定するのに役立つ可視的な証拠を含みます。しかし、離れた場所からイメージが取られた場合や田舎で撮影された場合は特定が難しくなります。
検証プロセスを開始するには、最新バージョンのGoogle Earthをダウンロードします。
準備
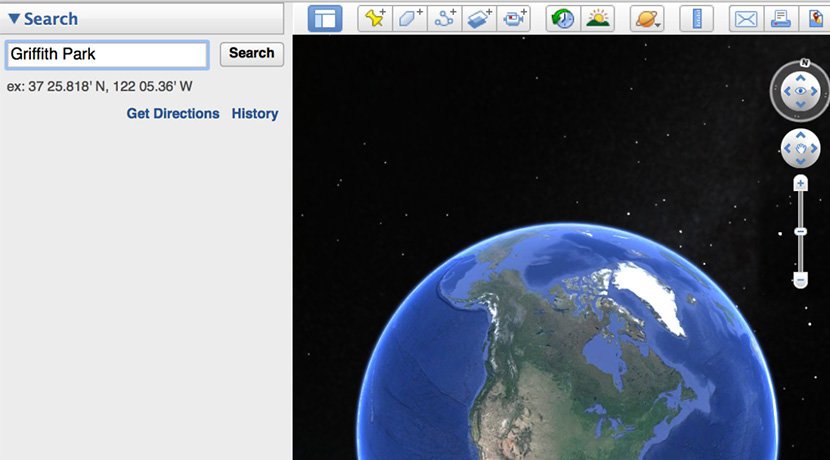
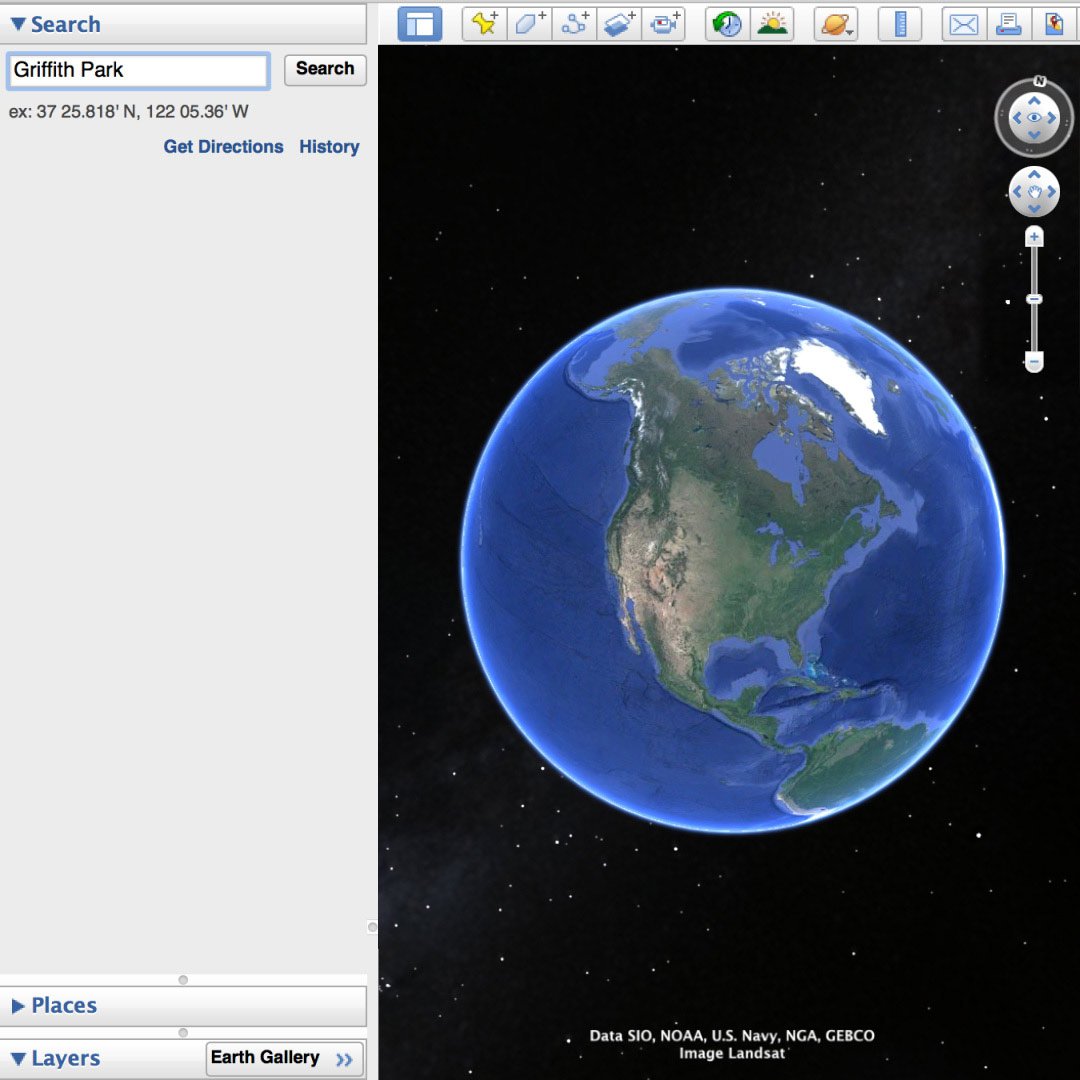
Google Earthをインストール後、最初にすることは、該当するメディアがあると思われる地域に「飛んでいく」ことです。国名、都市名、ランドマークまでも、Google Earthに入力すれば、その場所の航空写真を表示します。より詳細であればなお良いです。
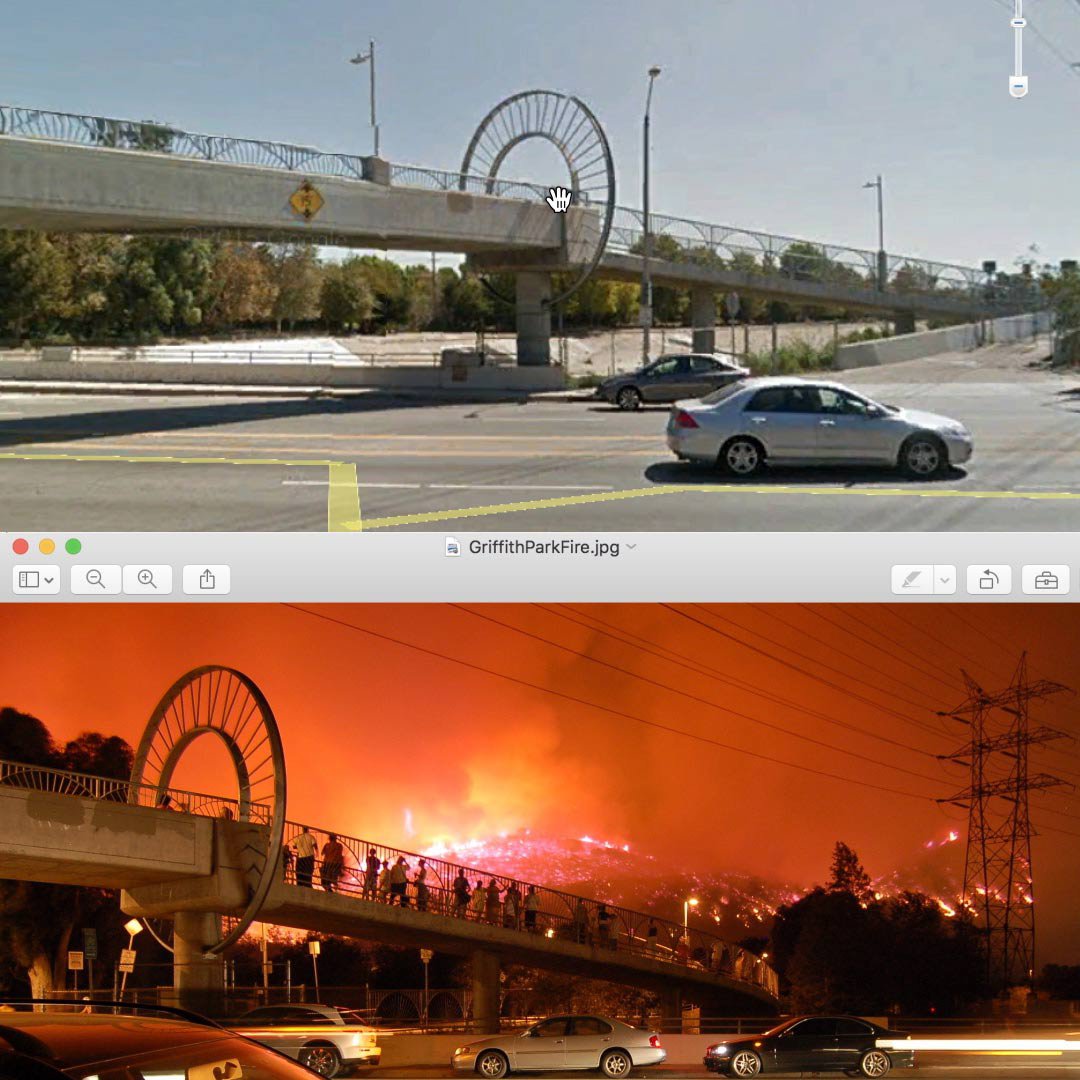
例えば、あなたがカリフォルニア南部の野火のストーリーに取り組んでいて、ロサンゼルスのグリフィス公園の近くで撮影されたと思われる写真をTwitterで見つけたとしましょう。
まず、Google Earth検索ボックスにGriffith Park と入力します。
Google Earthは、ヒントを探すためズームします。
ビジュアル証拠を探す
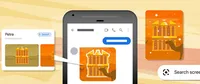
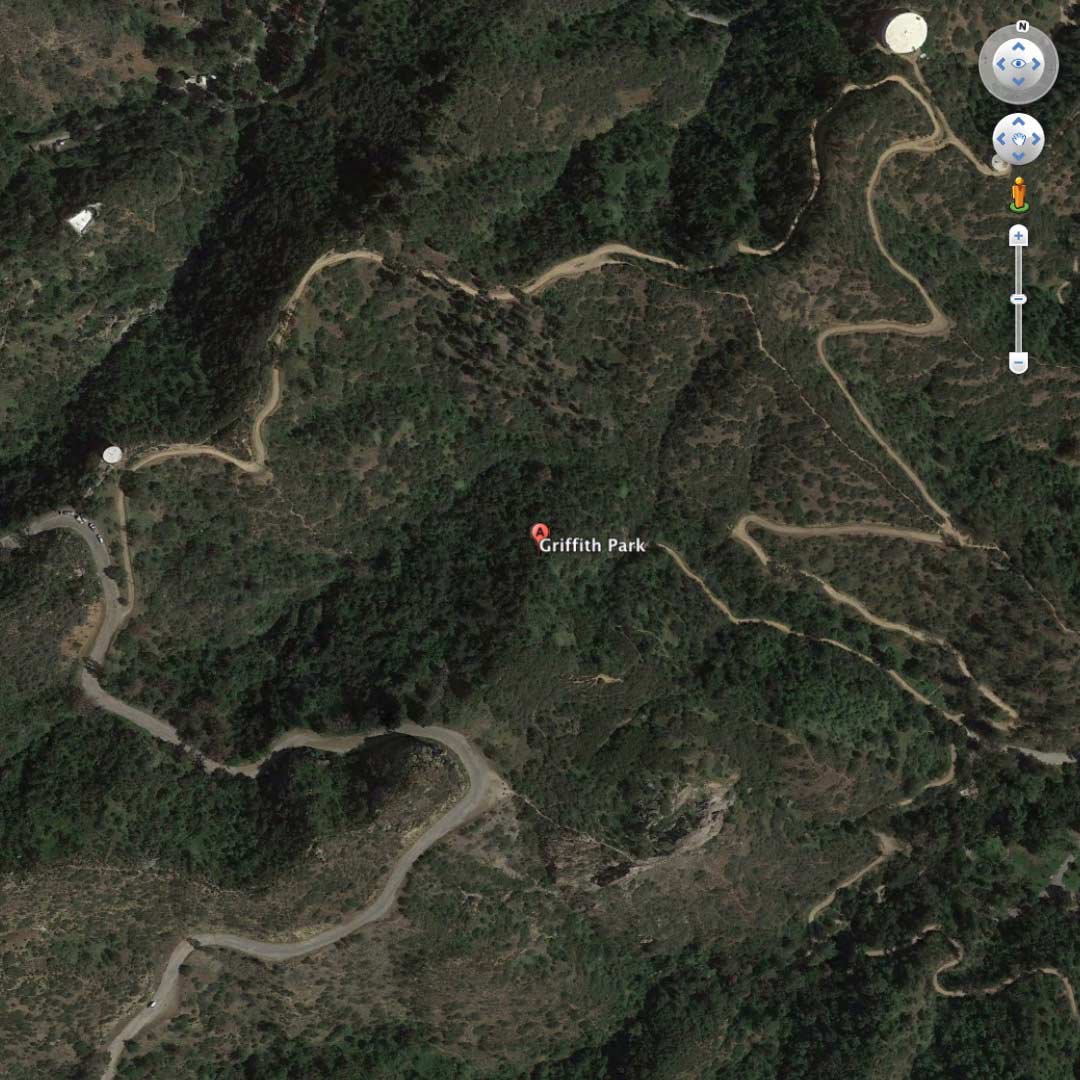
Google Earthが起動したので、あなたのビデオまたは写真に戻り、ロケーションを絞り込めるような視覚的なヒントを探す番です。
ランドマーク、サイン、独特な建物、道路、標高の変化、水の特徴、広いオープンスペース、緑地…あなたの地域にみられるすべての特徴をリストにしてください。Google Earthのイメージを比較するため、静止画を印刷したり、スクリーンショットを撮ったりすることも役立ちます。
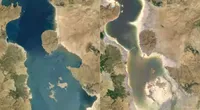
この場合は、ロサンゼルス川と並行するグリフィスパークの地域を探しています。また、主要な道路を横断する歩道橋も探しています。
スライダーを使用して、ランドスケープの特徴が表示されるまで拡大し、クリックとドラッグで周辺エリアを探索します。
レイヤーを使ってビューを変更
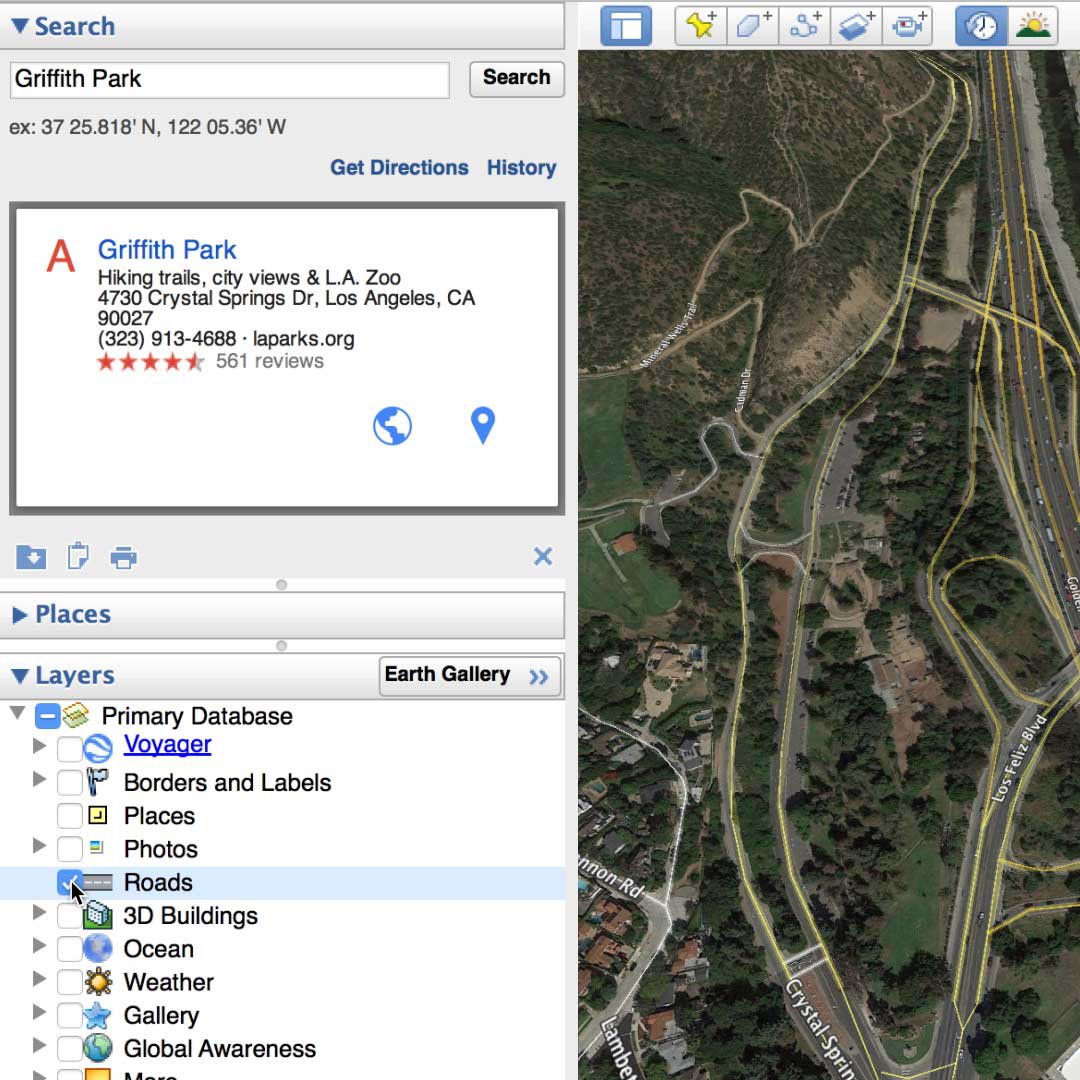
Google Earthの レイヤーパネルで、あなたの3Dビューワーにどんな種類の情報を表示させるか選択することができます。 異なった特徴を強調することは、ロケーションを特定するのにより役立つかもしれません。
レイヤーの横にあるチェックボックスを選択または非選択することで、レイヤーのオンオフを切り替えることができます。例えば、道路のレイヤーをオンにすることで、主要な高速道路は黄色の線で表示され、それ以外の道路は道の名前とともに白線で表示されます。オフにすれば、この情報は見えなくなります。
ロケーションの特定
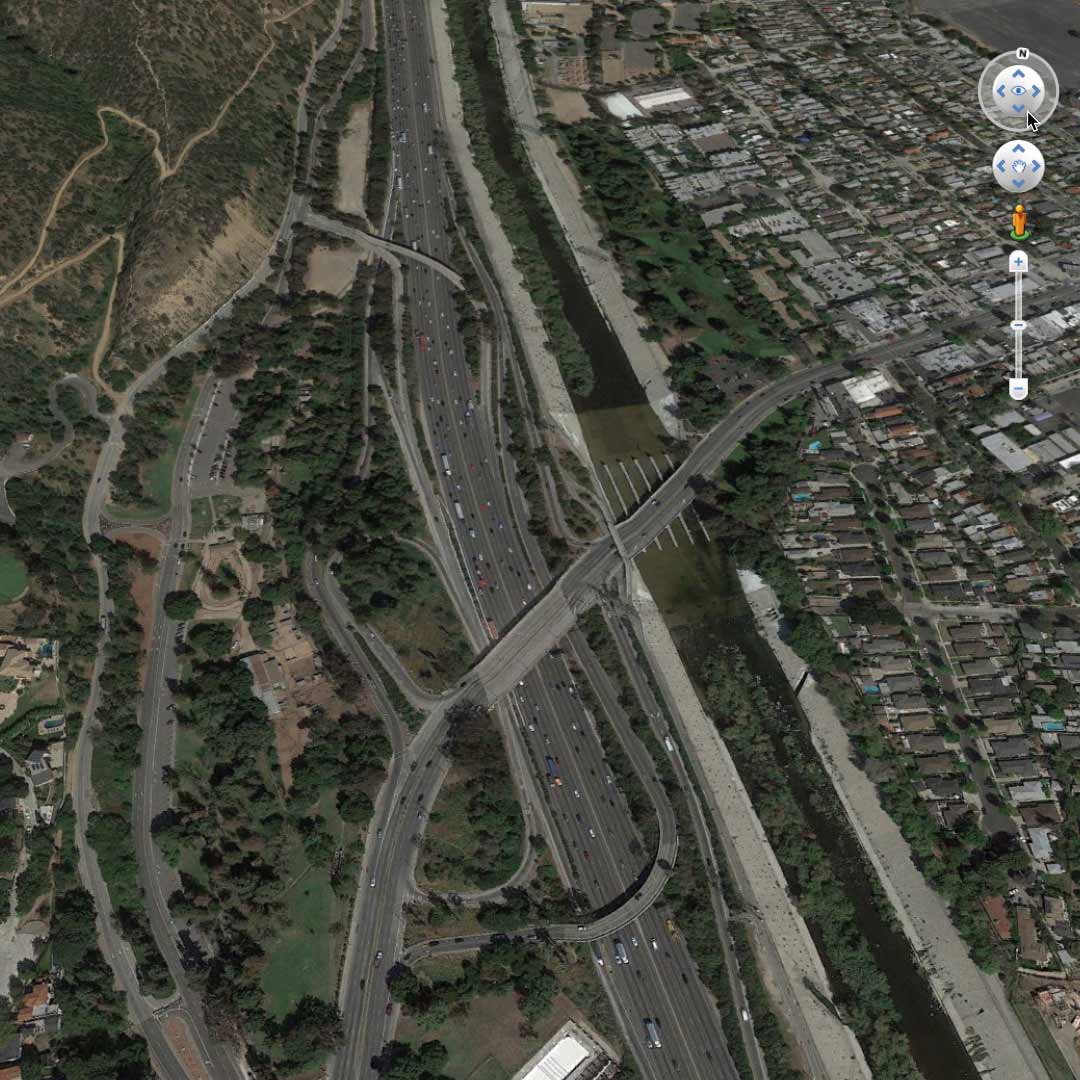
正しい境域に入ったら、Google Earthビューとあなたのニュース画像を比べるため、ズームすることができます。
任意の場所をダブルクリックすると、よりズームインできます。右上のナビゲーション矢印を使用して、ビューを傾けて見え方を変更します。
ズームしすぎた場合は、画面右上の地上ビューを終了するをクリックし、より広いショットに戻ってください。
正確に一致するロケーションを見つけたら、関連性がある場合は、日付や著者などの追加の検証方法に進むことができます。
イメージ画像の検証
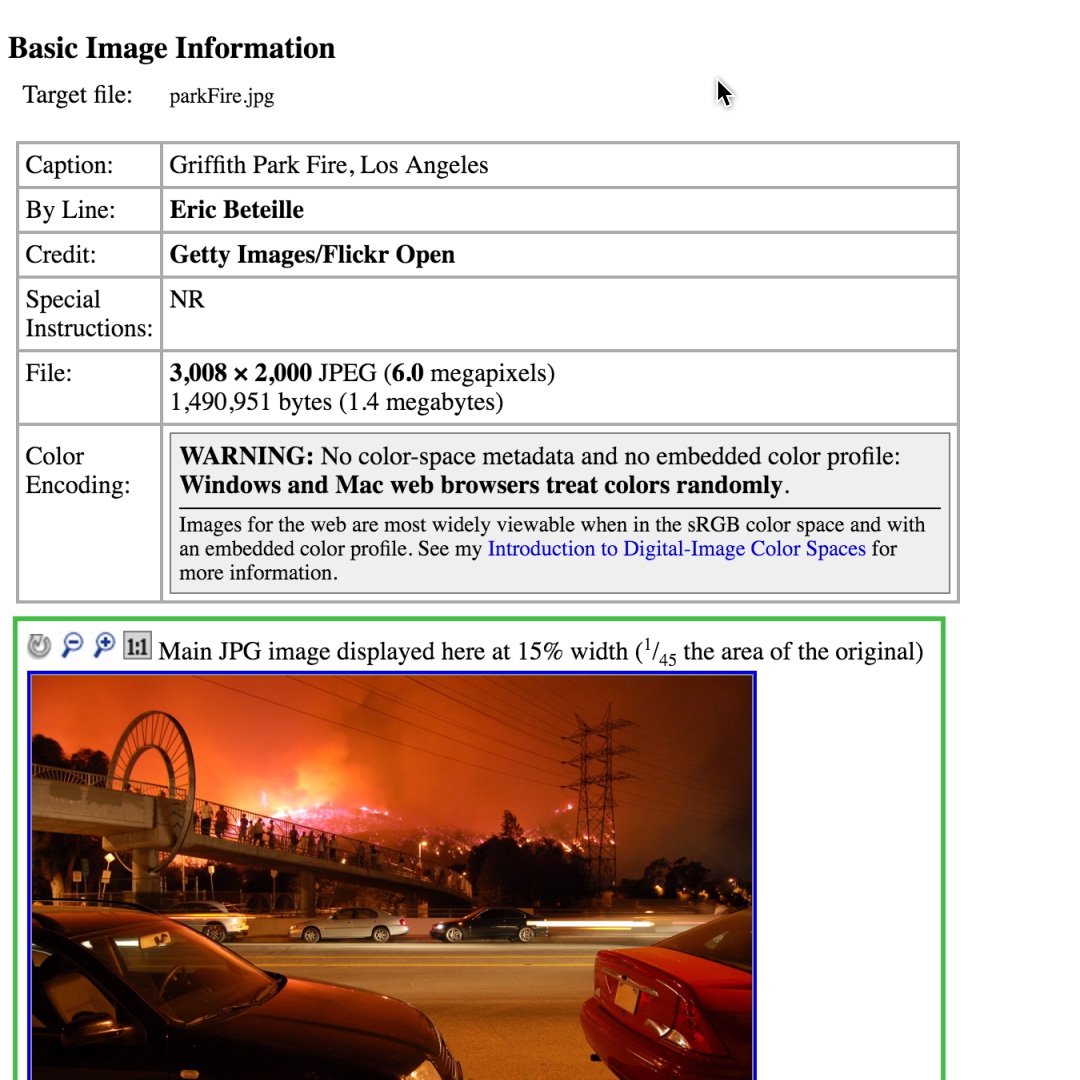
すべてのデジタル画像にはEXIFデータが含まれています。例えば、時間、日付、緯度および経度座標など、キャプチャポイントでデバイスによって収集された情報などです。これらの座標をGoogle Earthに入力すると、写真が撮影された場所に直接移動します。
しかし、ほとんどのソーシャルネットワークやメッセージングアプリケーションはEXIFデータを削除するため、元の画像を電子メールで送信してもらって、EXIFデータを自分で抽出してください。この作業には多くのツールを使用できます。例えば: http://regex.info/exif.cgi
検証にGoogle Earthを使用する方法の詳細については、このFirst Draftのケーススタディをご覧ください。
Google Earthのチュートリアルの完全版を見るには、ここをクリックしてください。