
レッスン概要
世界に向けてストリーを発信しましょう
Google Earthの3Dライブラリーをキャンバスにして、あなただけのストーリーを描きます。位置マーク、線、興味のあるエリアへのハイライトを一本化し、重要な動画や画像もインポートして、ストーリーを思う存分楽しむ装置をEarth内に完備しましょう。
- Google Earthから始めよう
- プロジェクトの新規作成
- マーカーの追加
- 線とエリアの追加
- 画像の追加
- プロジェクトの共有
- KMLでプロジェクトを新規作成
Google Earthでのストーリー発信に関するレッスンをもっと受講したい方は、このサイトへ:
http://newsinitiative.withgoogle.com/training/course/storytelling-with-google-earth
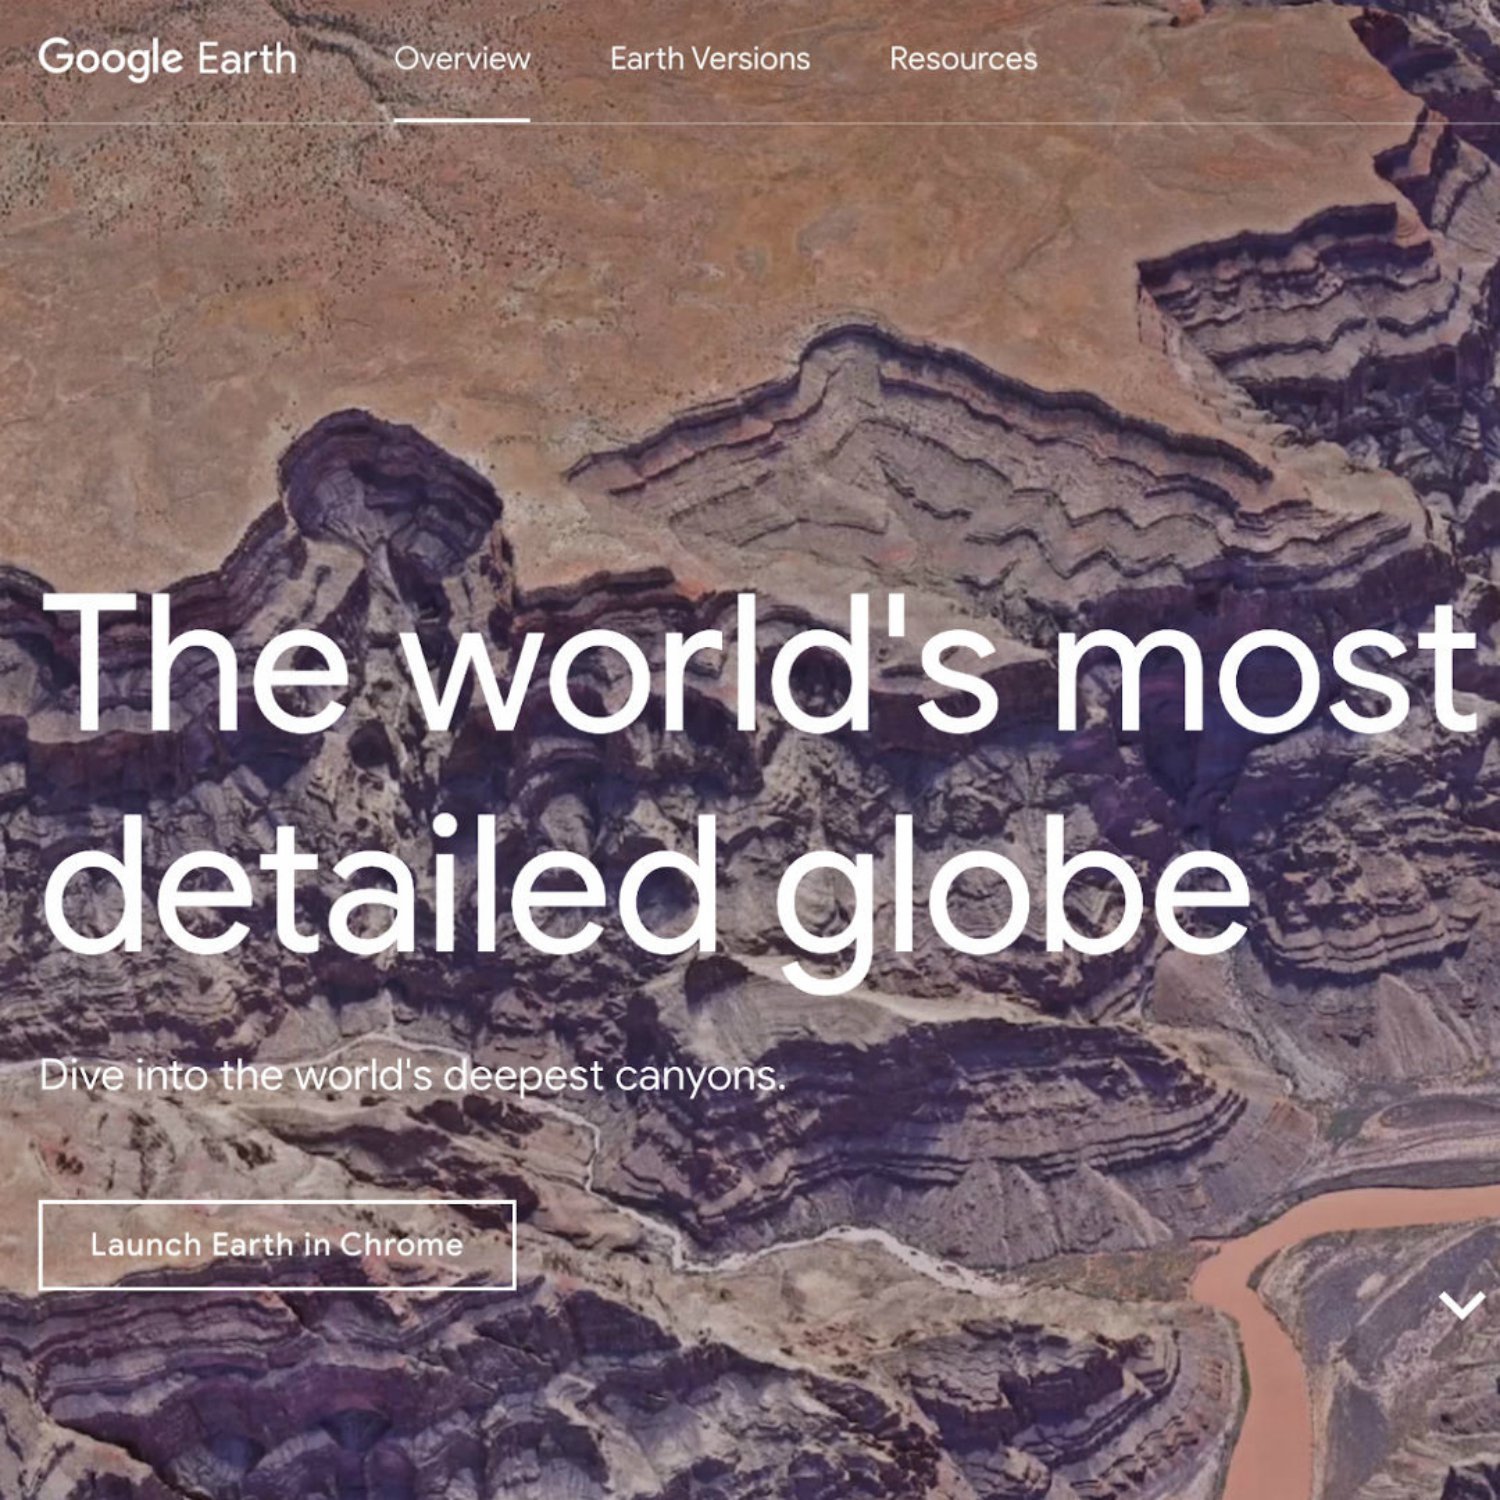
Google Earthから始めよう

ChromeブラウザでGoogle Earthを余すところなく使用できます。世界中を探検できるだけでなく、自分のプロジェクトを作成して、世界の人々に発信できるようになりました。
このプロジェクトの限界を決めるのはユーザーのイマジネーションだけですので、世界に向けて魅力的なストーリーを発信するためにメディアのあらゆる要素を融合させながら活用しましょう。
Google Earthで始めるなら、アクセス先はearth.google.com/web。
メインメニューへのアクセスは左上の3本線をクリック。どのGmailアカウントでもサインイン可能です。
プロジェクトの新規作成
Earthのストーリー発信ツールの要となるのがプロジェクトです。プロジェクトでは、位置マーク、線、図形などを描いてあらゆるテーマのストーリーを作ることが可能で、指定した位置(テキスト、リンク、画像、動画、3Dビューとストリートビュー)にコンテンツ情報を加えることも、プロジェクト内のストーリーの流れやリズムを整えることもできます。
プレゼンテーションモードでは、あなたが作ったストーリーに従って閲覧者が一つの場所から次の場所へと飛ぶことになり、Google Earthのイメージとあなたが作ったオリジナルコンテンツが相まって素晴らしい旅を体験します。
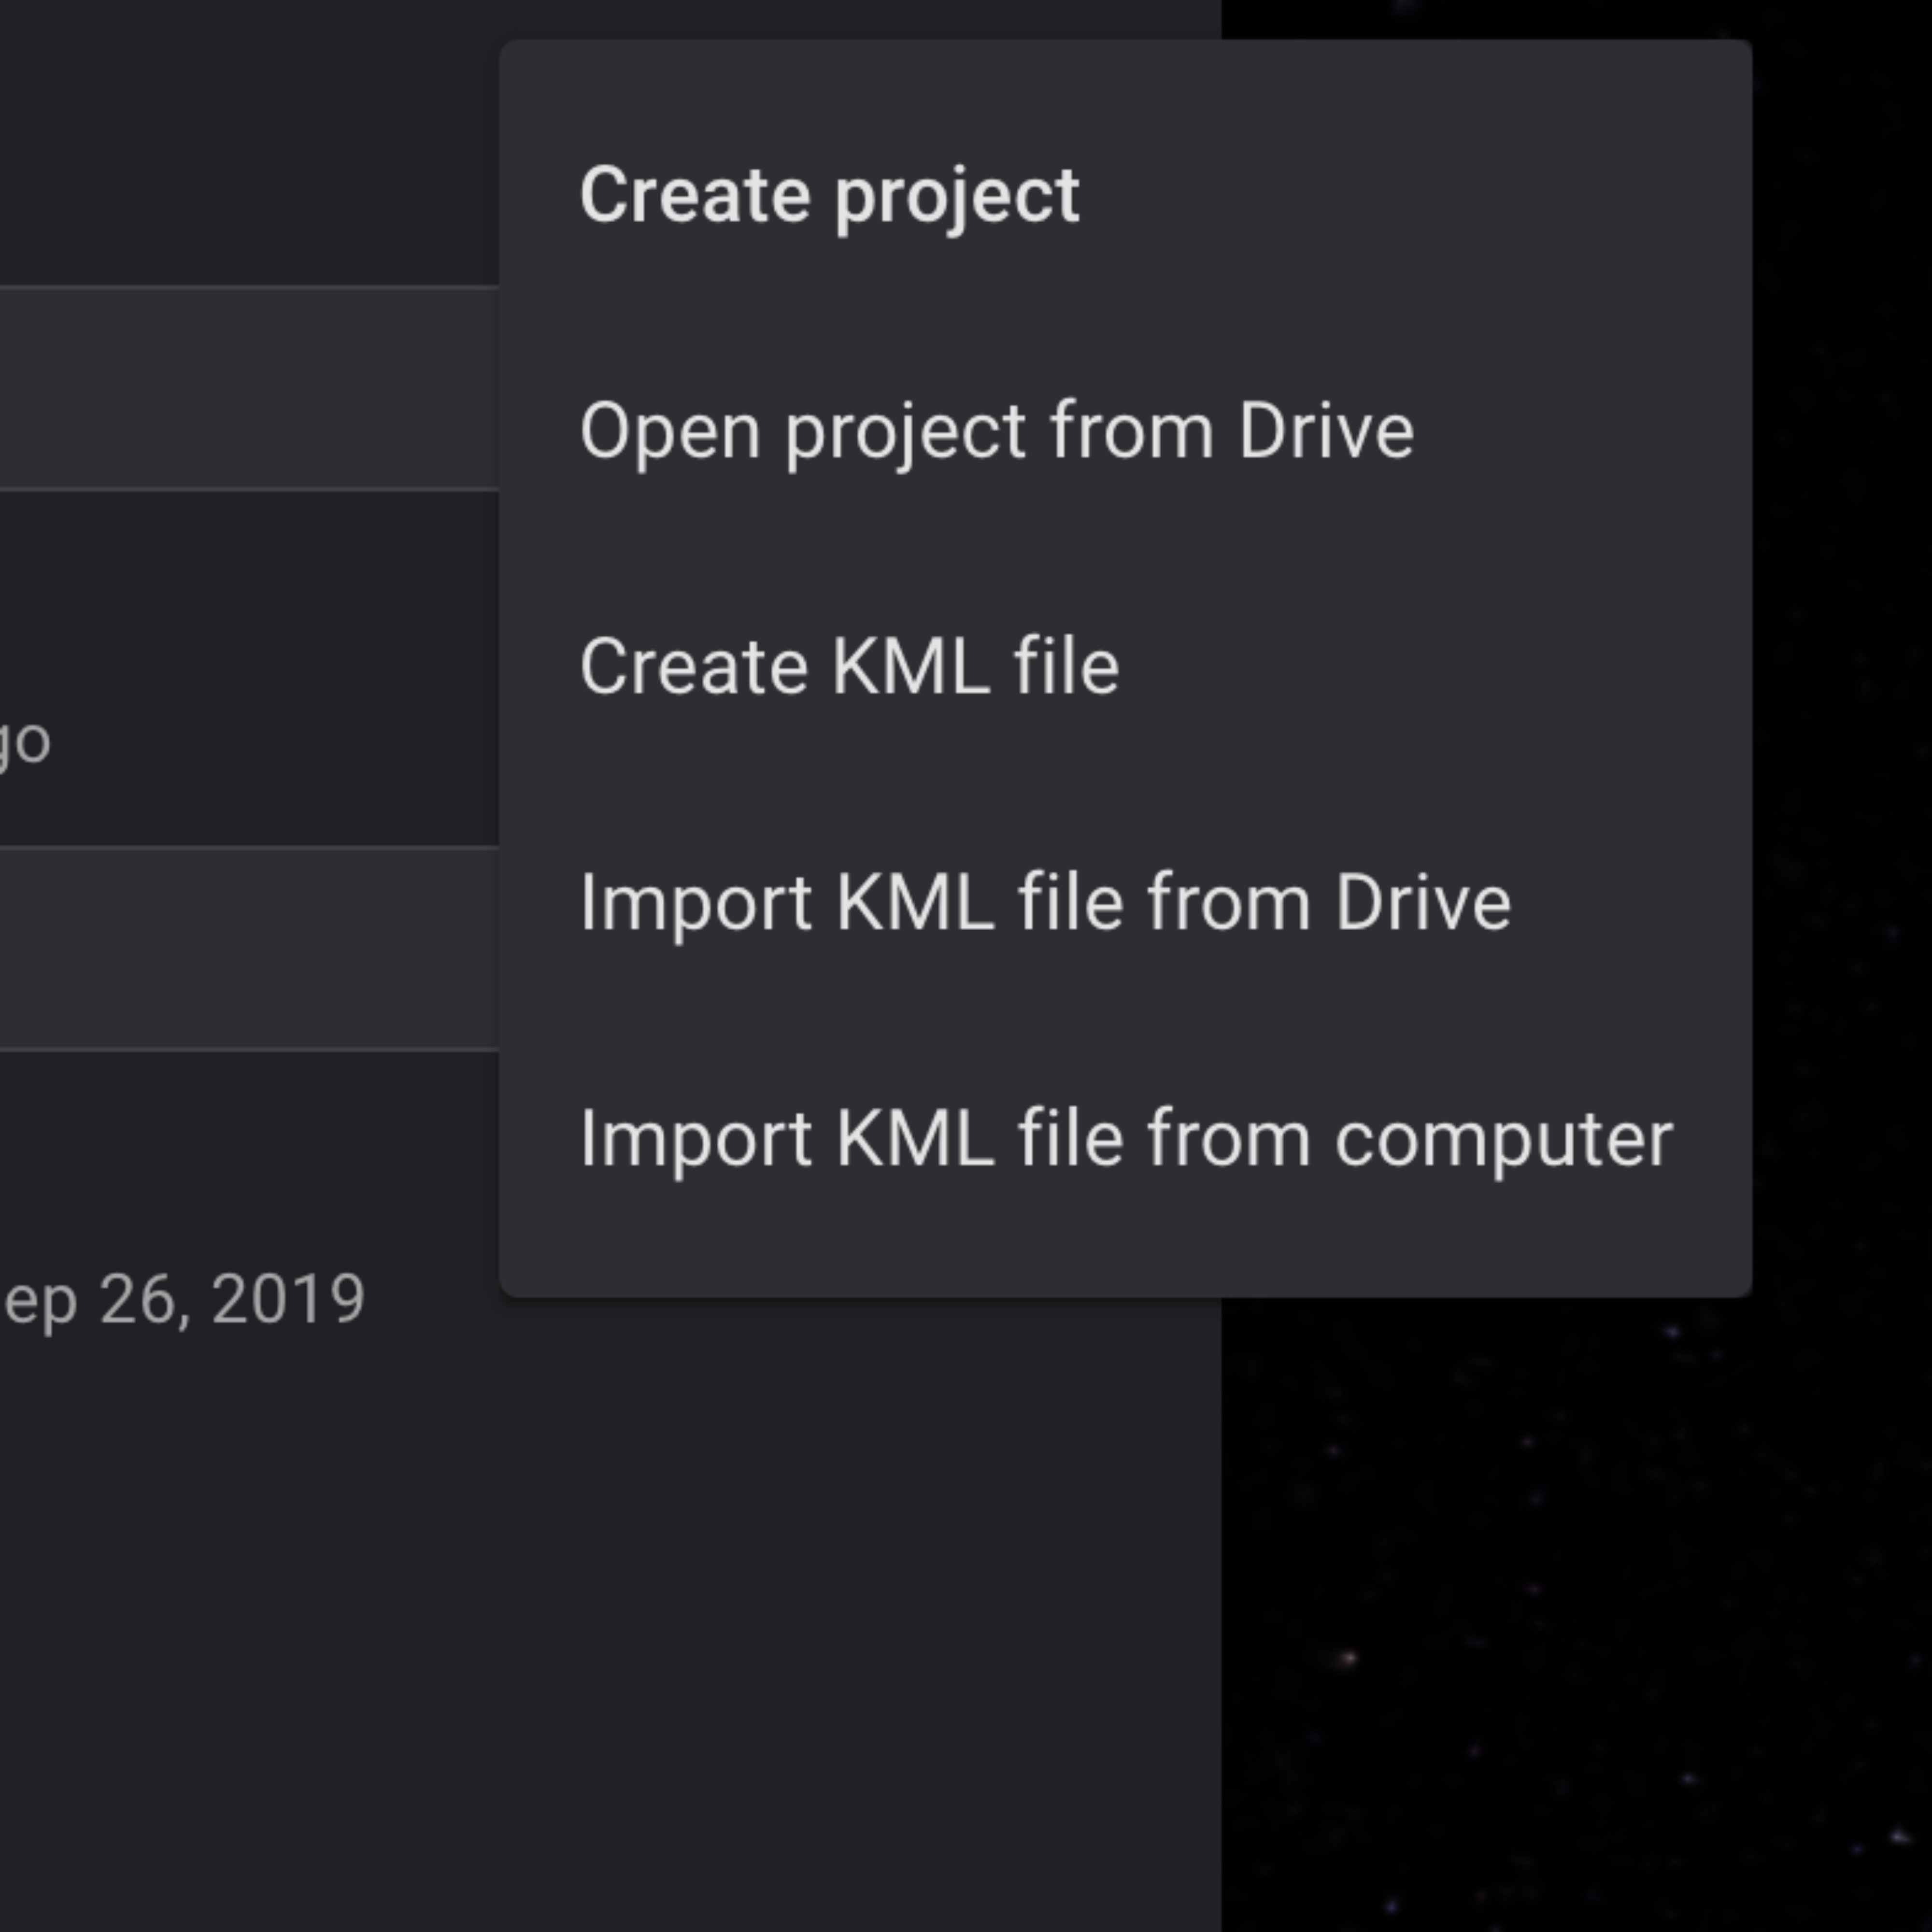
新規プロジェクト作成はプロジェクトをクリック。
ここで選択するのは作成です。 または、以前作ったプロジェクトにアクセスしたいときにクリックするのが開くです。
作成したプロジェクトにタイトルと説明を加えるには、メニューの右上にある鉛筆アイコンをクリックし、詳細を書き入れます。
位置マークを追加
メイン機能の一つでプロジェクトに装備されているのが、マーカーとエリアを囲む線の追加で、画像や動画をストーリーに入れ込むことも可能です。
位置マークの追加は新機能をクリック。
目的地に到着しているときにクリックするのは位置マークの追加で、Earthがその場所にピンを刺します。
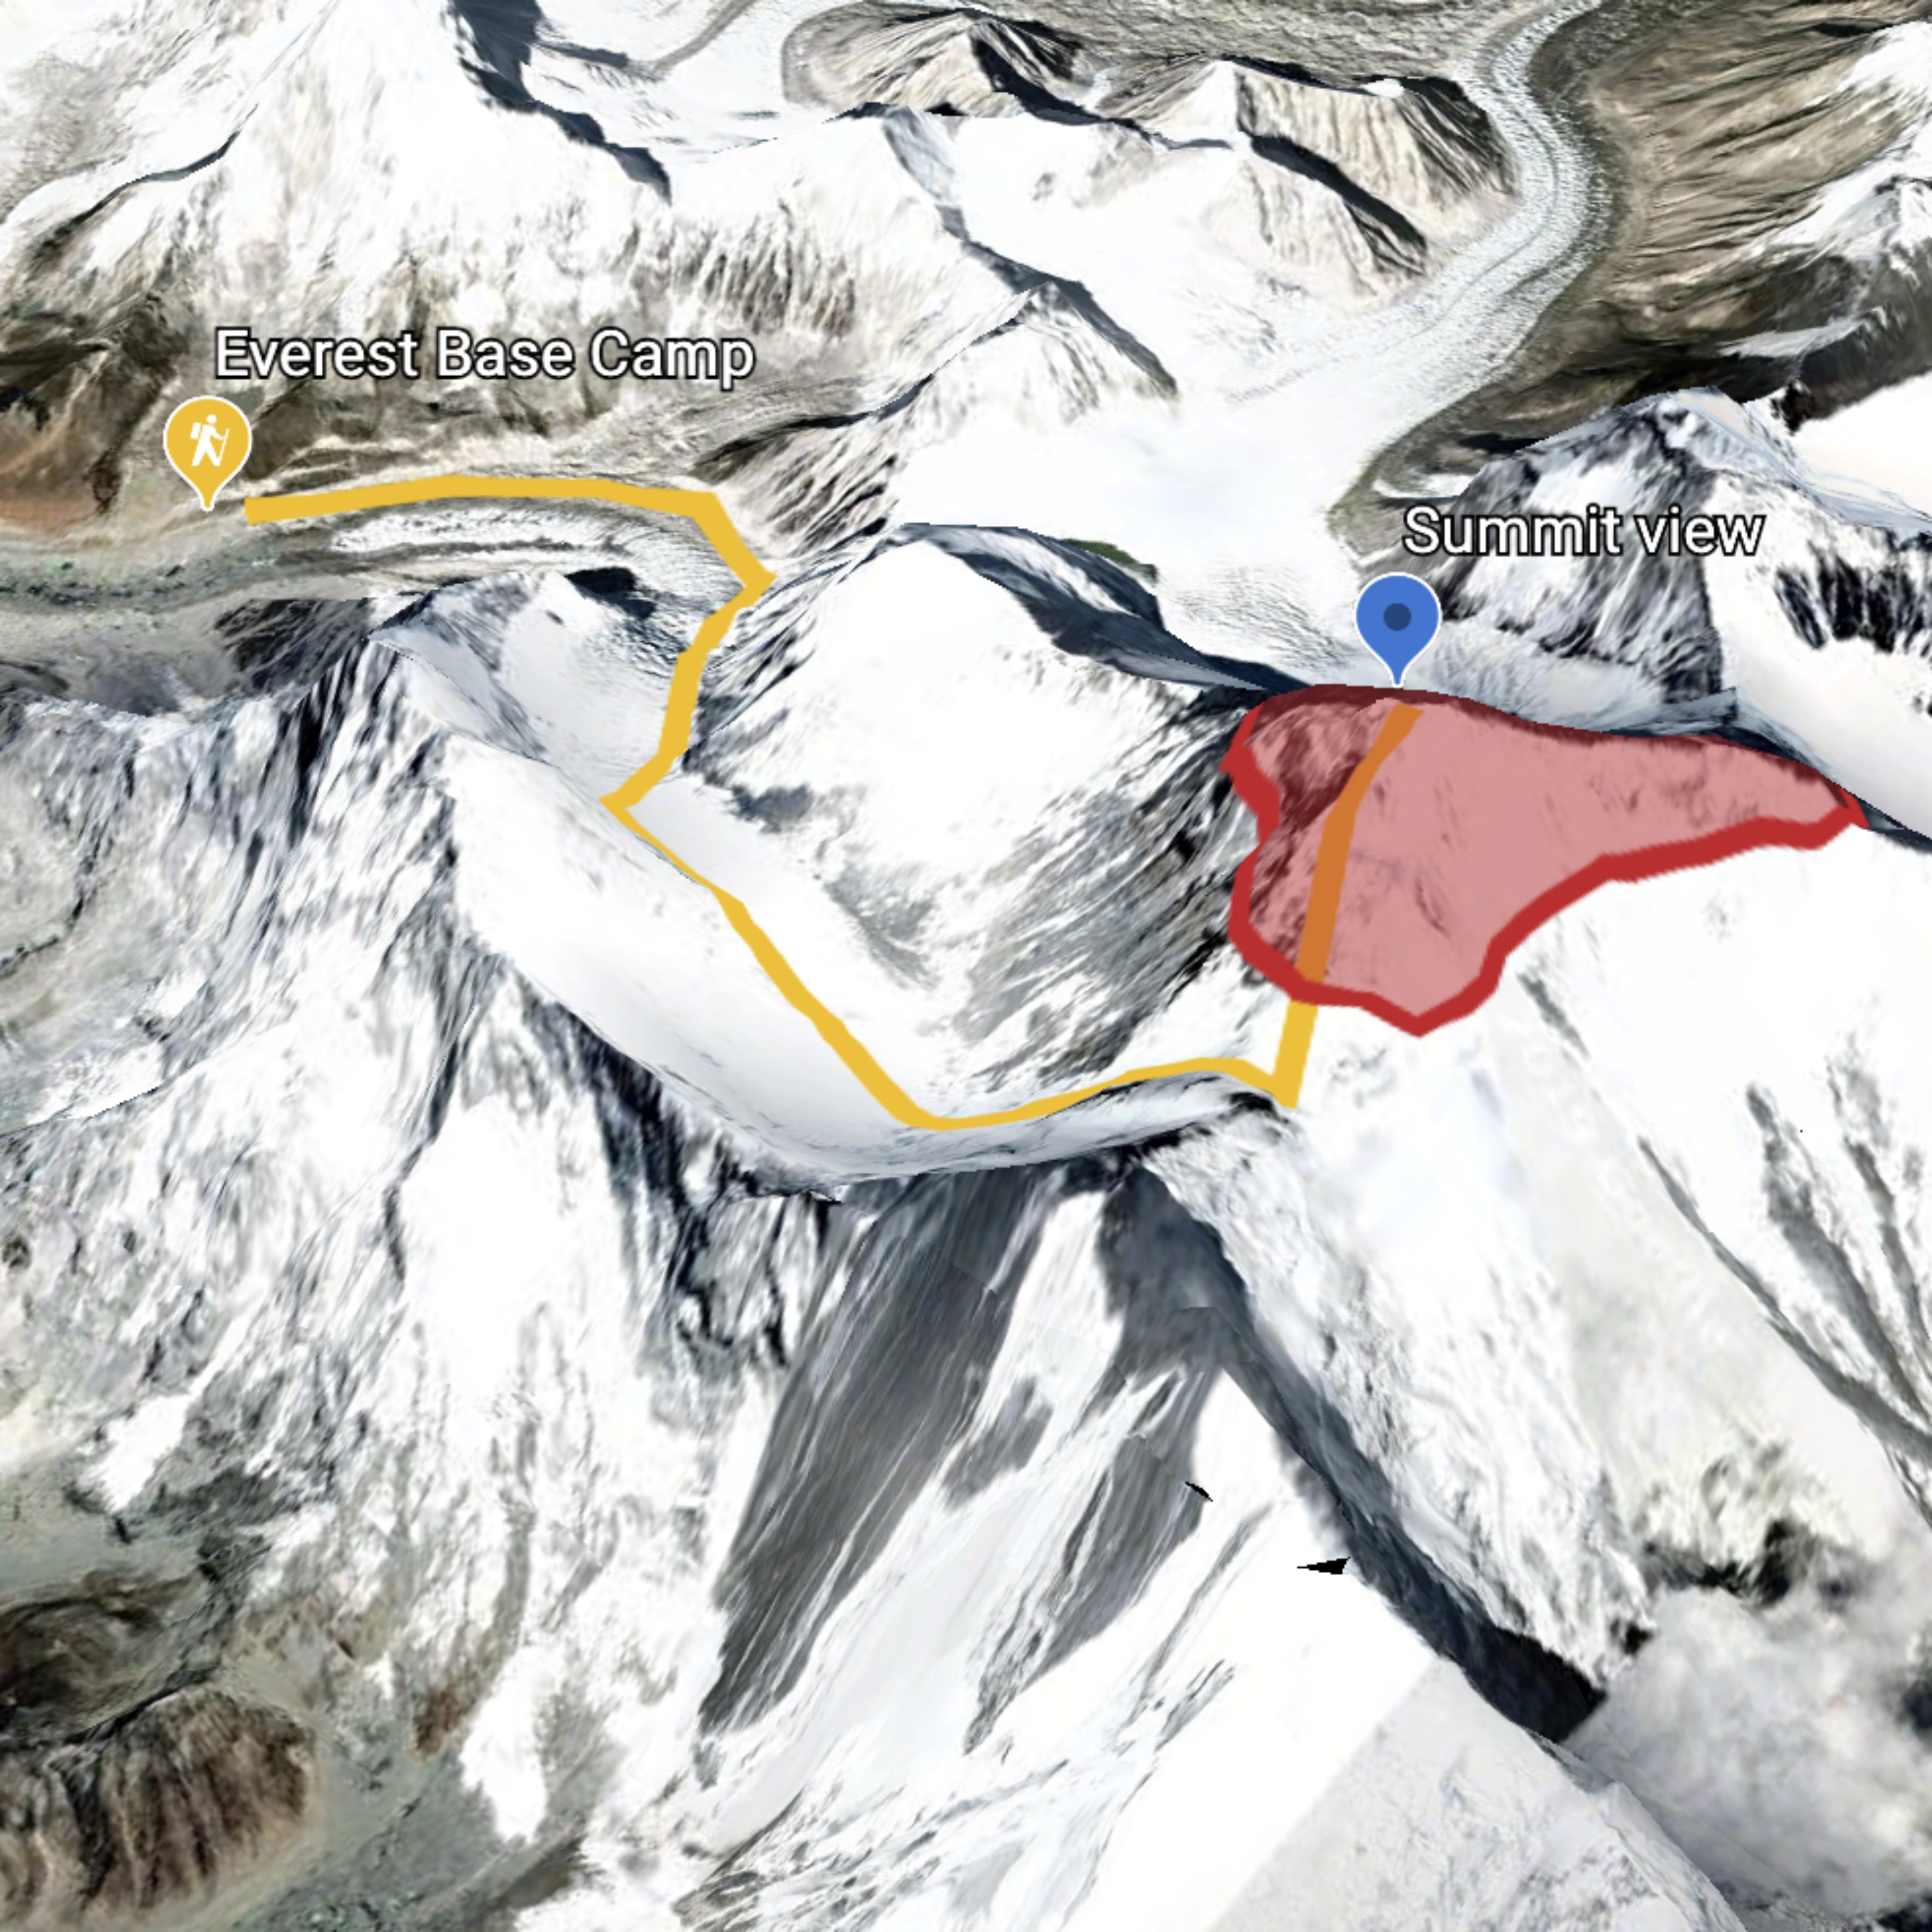
検索アイコンを使って場所を探すこともできます。例えばエベレスト・ベースキャンプ・トレッキングを検索します。正しい場所を発見したら、そこでプロジェクトに追加をクリックします。
位置マークの形や機能を変更するには位置の編集をクリックします。
このメニューでは、位置マークの色、大きさ、高度をカスタマイズできます。
Earthで検索されることの多い場所は、事実とGoogleの写真で構成された「知識カード」が提示されます。Googleのエントリーを削除して書き換えるときには置換をクリックします。
カメラ位置をドラッグしてからこのビューを保存をクリックすると、読者が体験するビューの視点設定を変更できます。
プレゼンテーションをプレビューをクリックすると、どんなときもプロジェクトをプレビューできます。
線とエリアの追加
位置マークを加えるだけでなく、マップ上に線を描くこと、エリアを特定することが可能です。
線を描くには、画面の下にある線のアイコンをクリックします。
つなげたい場所をクリックしたあと、プロジェクトに線を保存するためにエンターキーを押します。
線の色と大きさ、提示する情報をカスタマイズするためにクリックするのが位置の編集 > 線の編集で、好きなものを選んでください。また閲覧者の視点を決めるのにクリックするのがこのビューを保存です。
エリアの追加をするときには、プロジェクトのメニューに戻ります。新機能ボタンをクリックして、線の詳細を選びなおします。
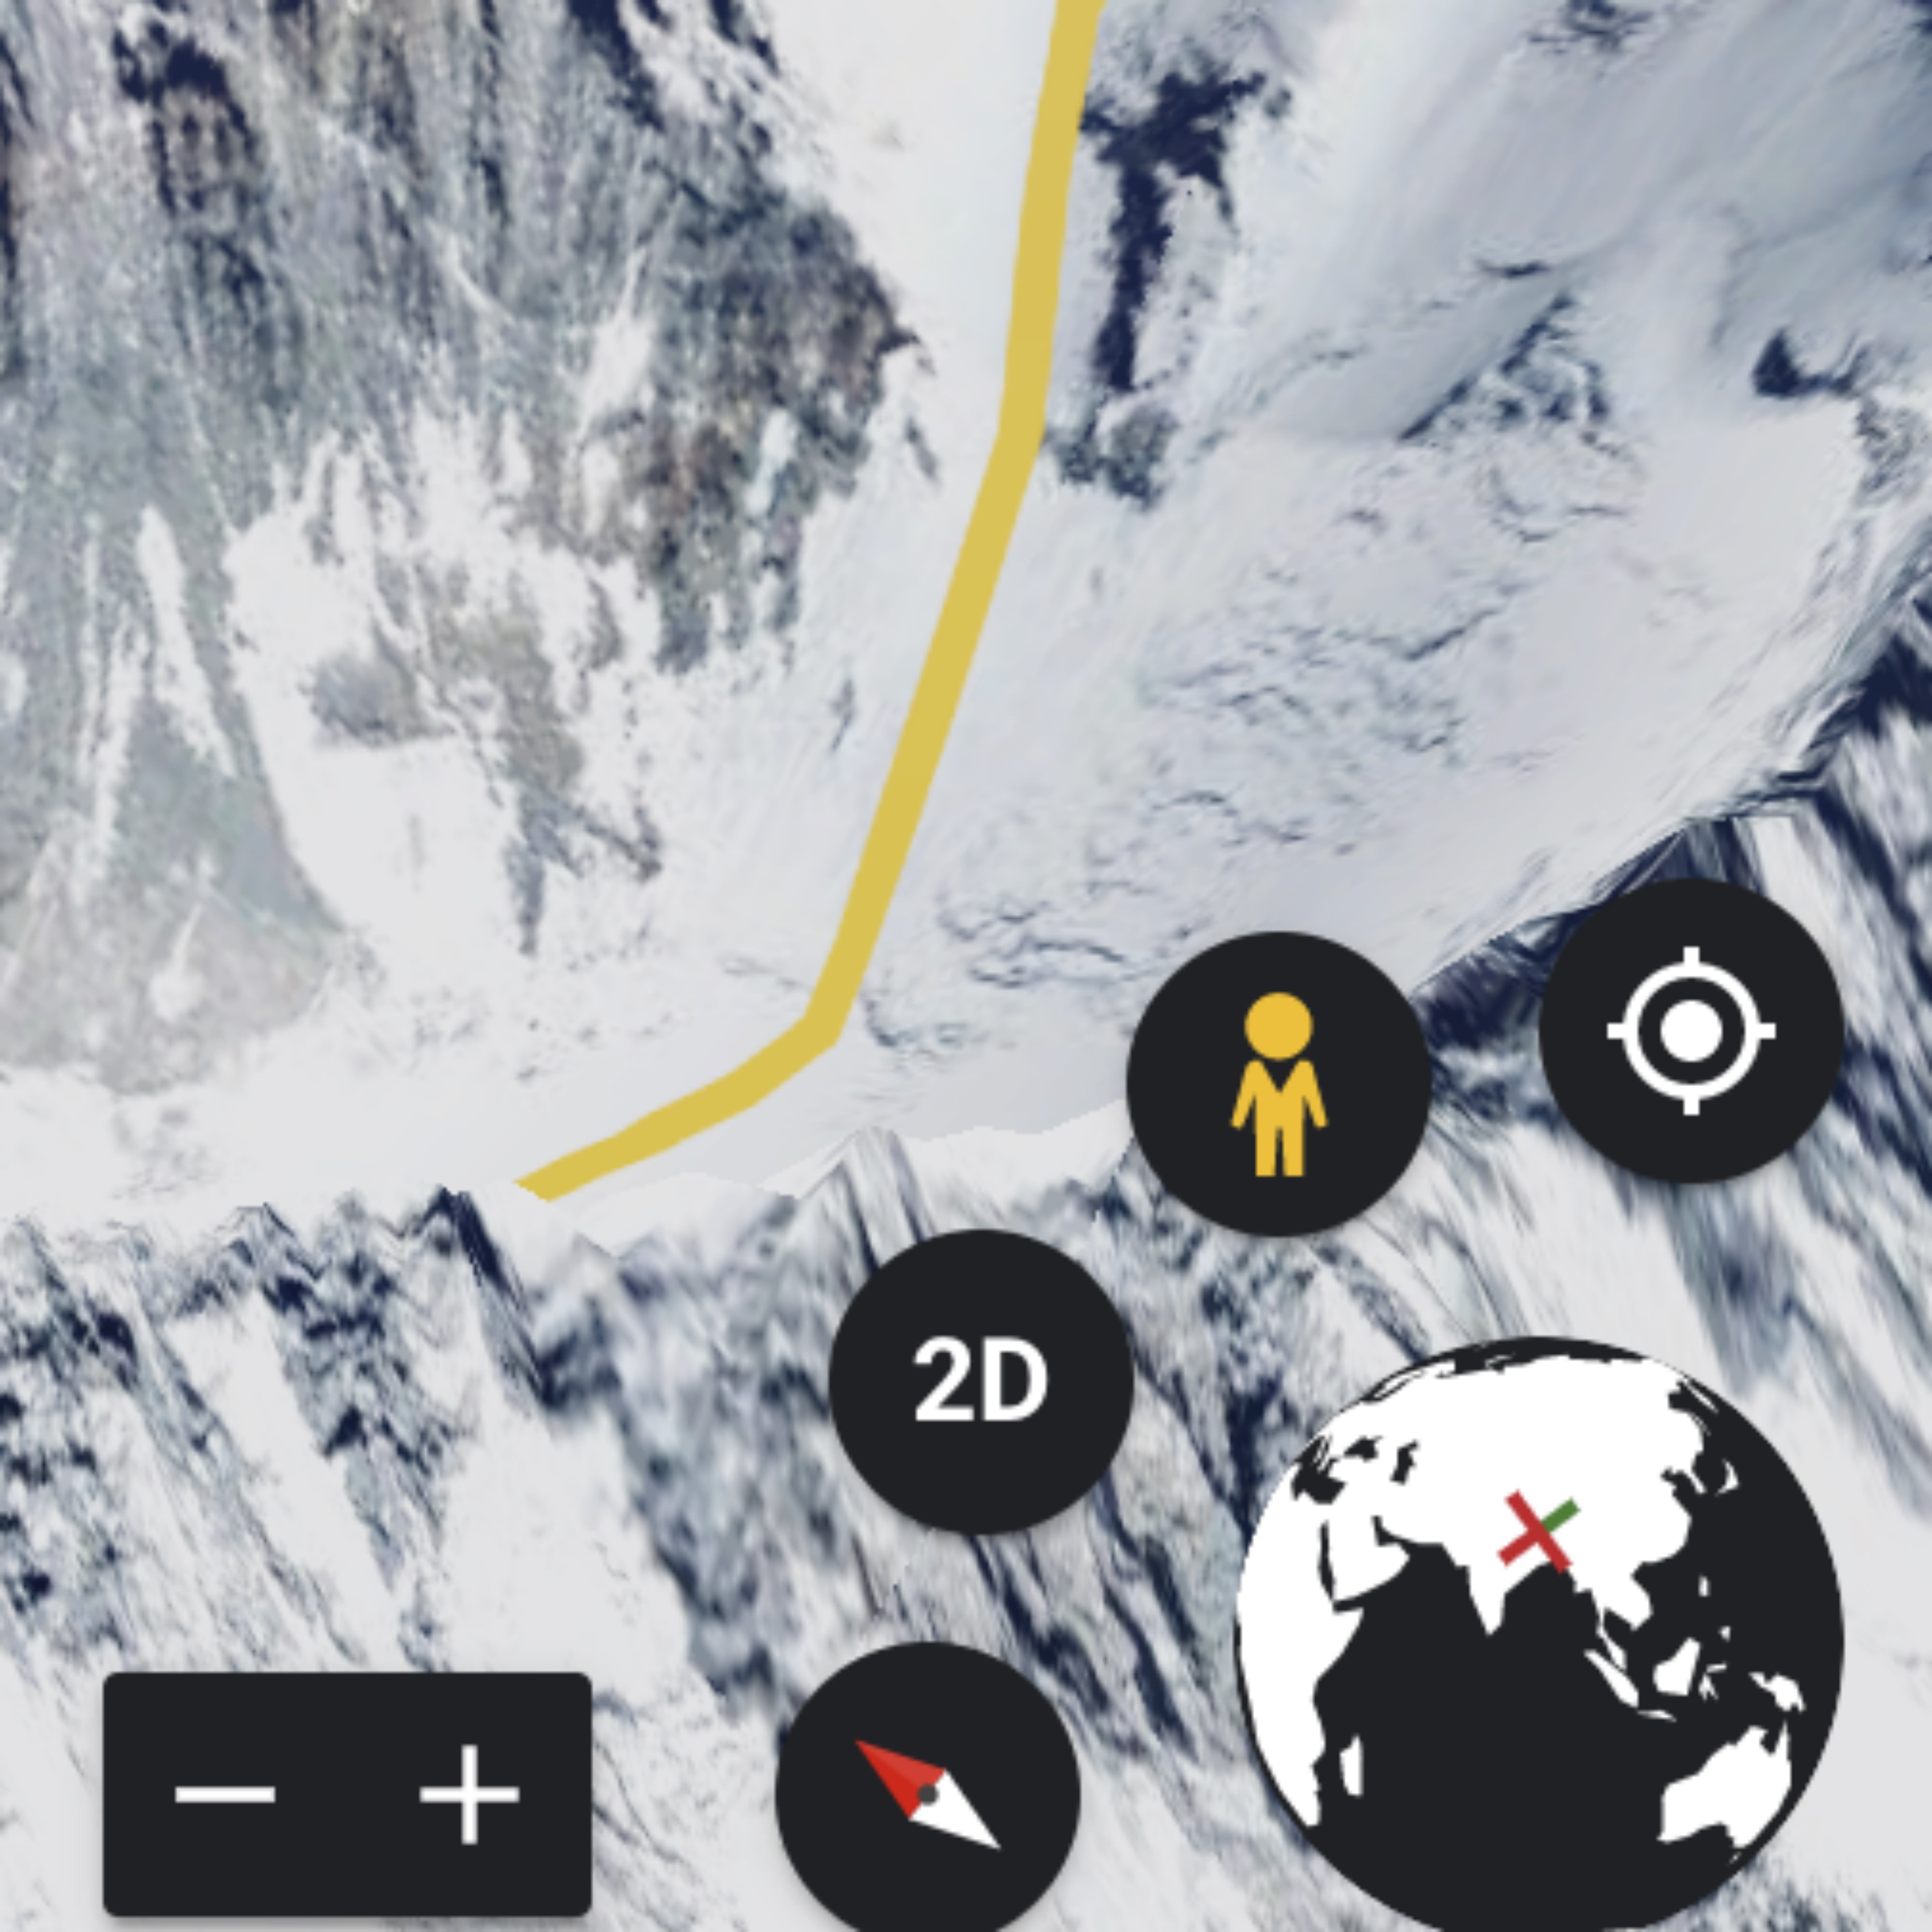
画面の右下にある高度シンボルを使うと、8000メートル以上のエリアがハイライトされます。
山の周囲に線を描くには8000メートルの複数のポイントをクリックします。
描いた線を始点に戻ってつなげると自動的に多角形が描かれ、これを保存することも可能です。図形の色や彩度を変えられる高度な設定メニューへアクセスしたいときにクリックするのは位置を編集です。
ストリートビューのイメージ追加
Earthはストリートビューにアップロードされている画像も取り込みます。この画像をプロジェクトに加えて、閲覧者がその場所に本当にいる感覚をじかに得られる体験を提供しましょう
画面の右下にあるストリートビューアイコンをクリックすると、選んだ場所の画像がすべて表示されます。
エベレストの山頂にある青い点はそこに光球がある印です。
この青い点をクリックすると、この光球の内側に入ることができます。このビューを保存ボタンをクリックします。
この光球にタイトルをつけて、自分のプロジェクトに保存します。
プロジェクトの確認はプレゼントをクリックします。
プロジェクトの共有
ストーリー発信の一番の楽しみは、自分のストーリーを人々と共有することです。Earthはストーリーの共有や他の人とのコラボレーションを可能にしました。チームとして複数の人間で一つのプロジェクトを作り上げて、自分の世界観を発信することも可能です。
トップにある3つのボタンで、共有、削除、KMIでプロジェクトをエクスポートができます。
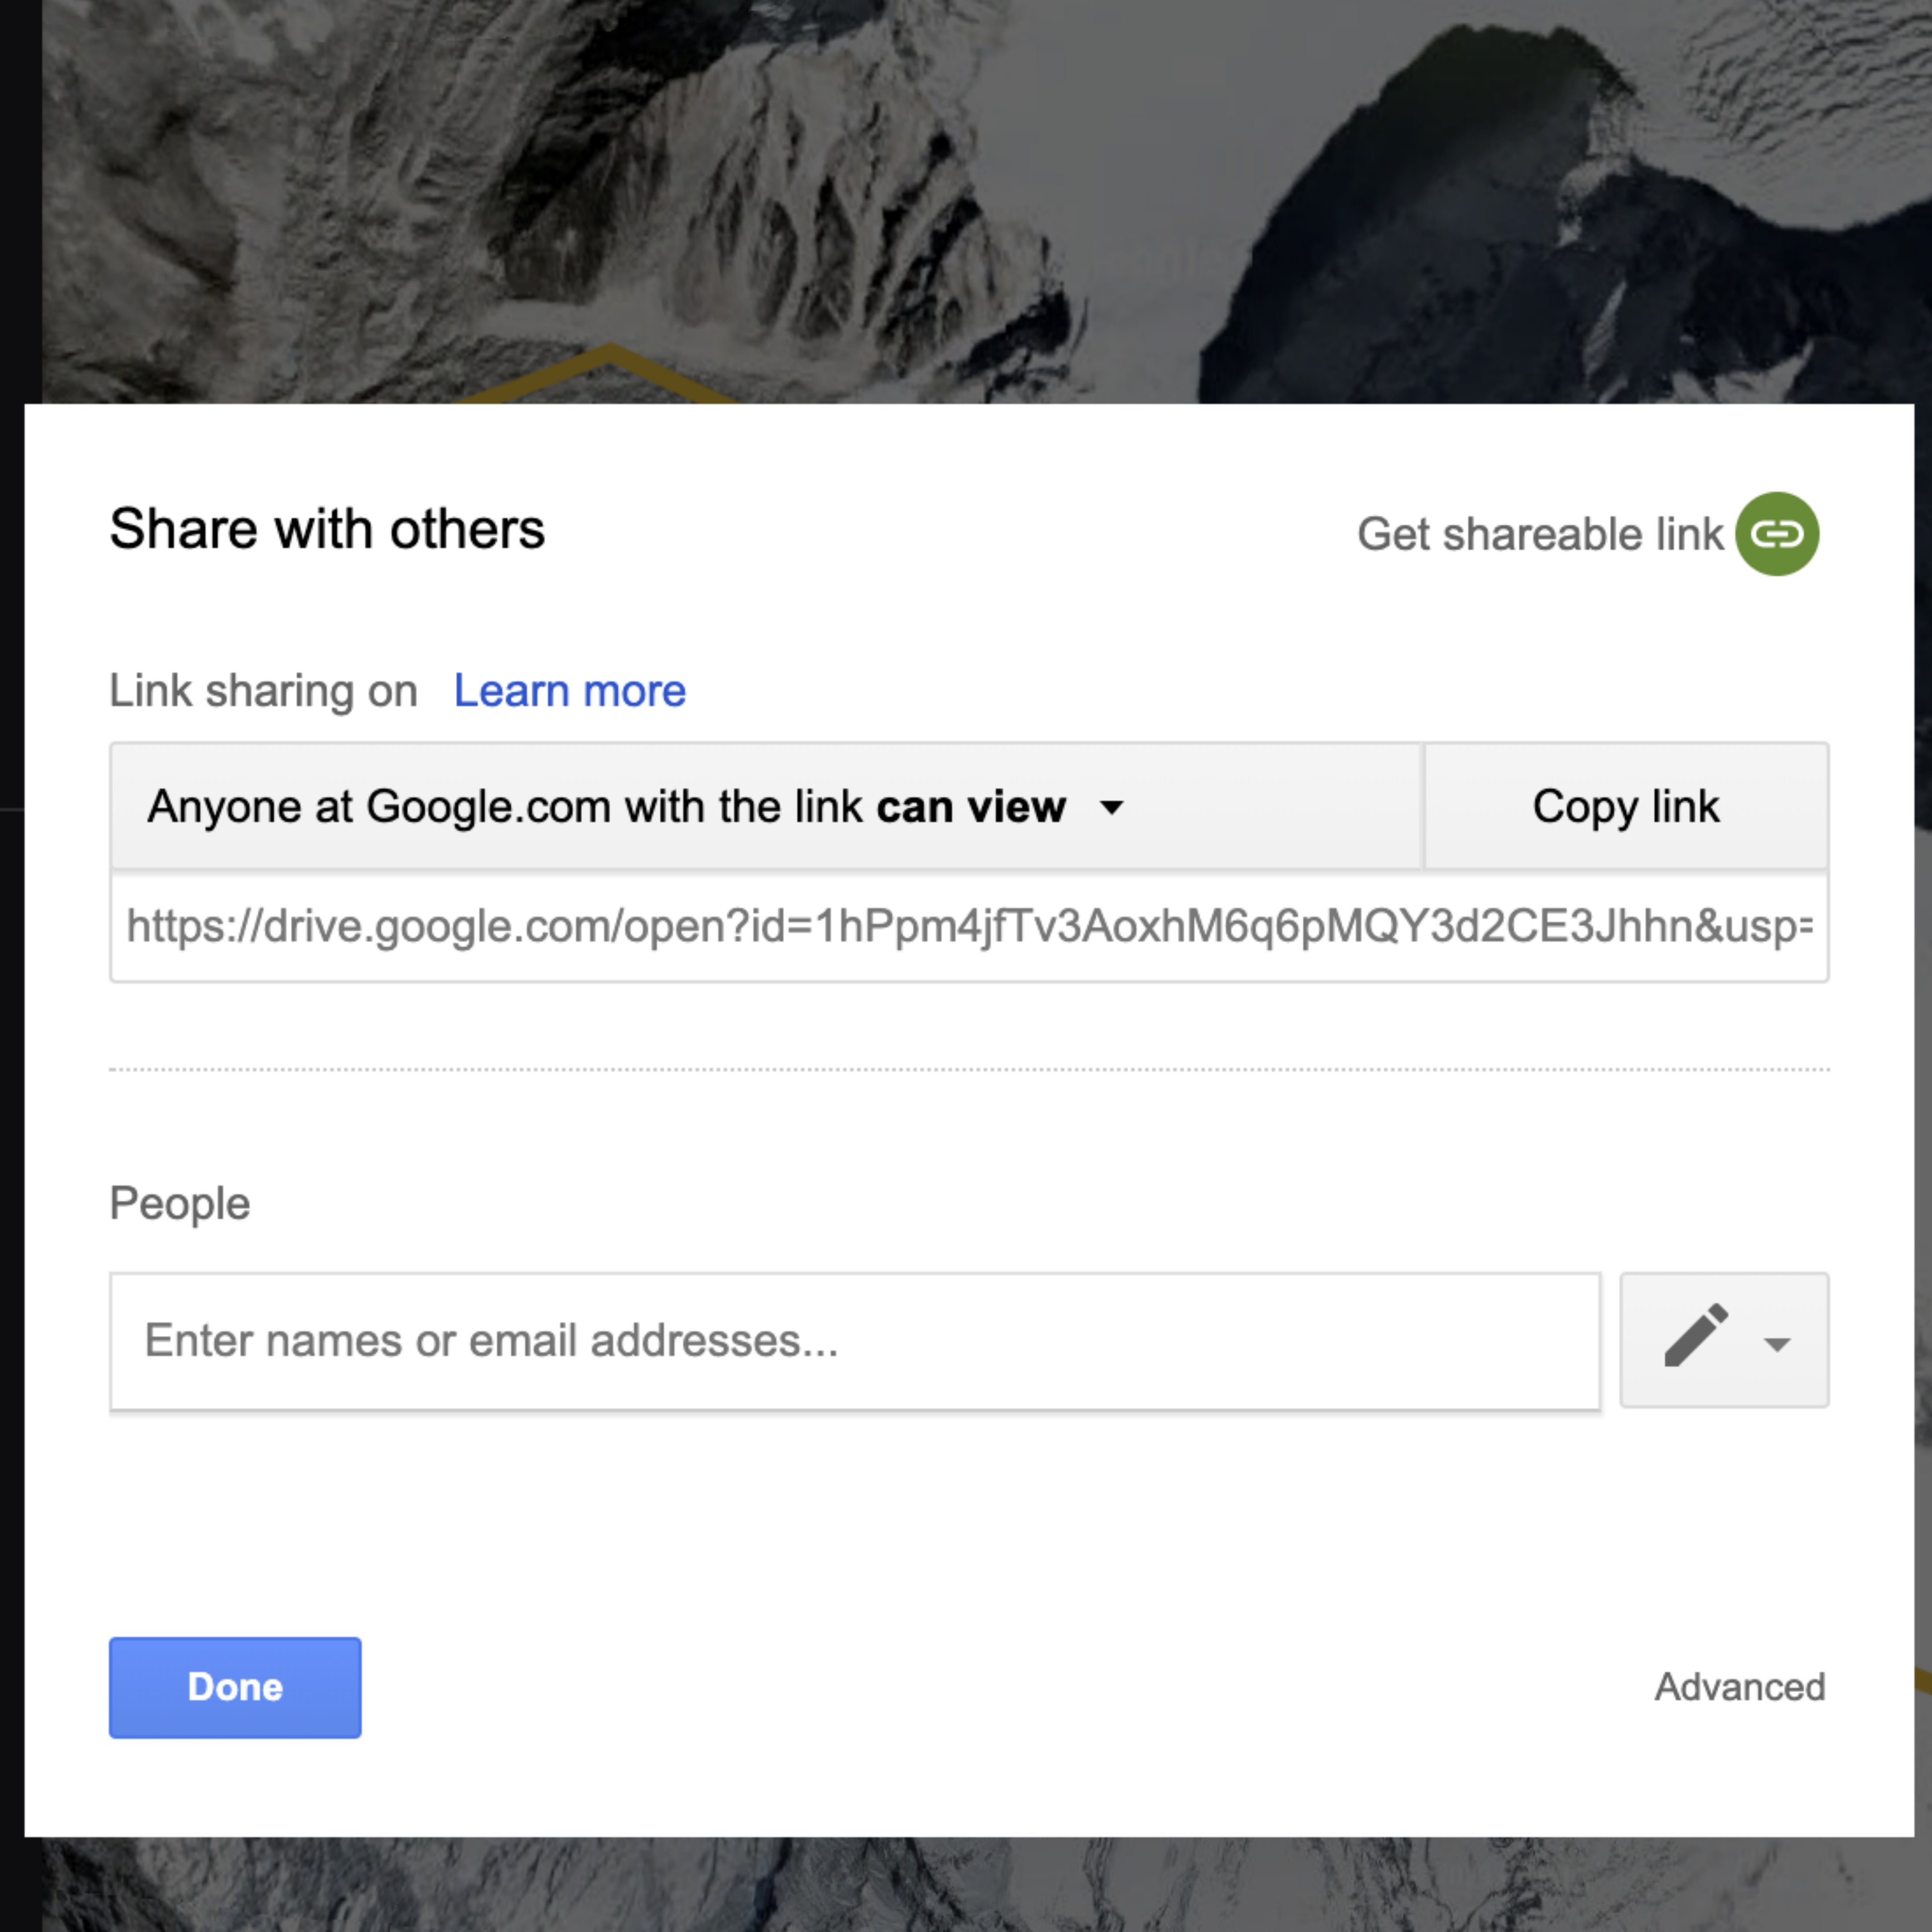
共有をクリックして新しいウインドウを開くと、コラボレーターや読者を招待でき、共有リンクも作成できます。
鉛筆アイコンをクリックすると、閲覧や編集を許可するユーザーを指定できます。編集機能があるため、複数のコラボレーターが同時に一つのプロジェクトの作業を行うことが可能です。
共有リンクを作るをクリックして、完成したプロジェクトを人々と共有しましょう。
KMLでプロジェクトを新規作成
Google My Maps、Tour Builder、Earth Proなどのマッピングツールで作ったマップをKLMファイルやKMZファイルで保存している場合は、KLMやKMZのファイルをGoogle Earthにインポートして確認や編集を行うことが可能ですが、これには多少の制限があります。
設定をクリック。
スライダーをクリックしてKMLファイルのインポートを有効にします。次にクリックするのが保存です。
メインメニューでプロジェクトを選択します。
まずクリックするのが新規プロジェクトで、クリック後にドライブやコンピュータからKMLをインポートするというオプションが表示されます。
おめでとうございます!
これで「Google Earth 制作ツール:あなただけのストーリーを世界に向けて発信しよう」終了です。
この先、デジタルジャーナリズムのスキルを向上させ、Google News Initiative認定書の取得を目指す方はトレーニングセンターのサイトで引き続きレッスンを受けてください。
Google Earthでのストーリー発信に関するレッスンをもっと受講したい方は、このサイトへ:
http://newsinitiative.withgoogle.com/training/course/storytelling-with-google-earth