

Google Earth creation tools: Tell your story across the world
How to use Google Earth to create compelling stories
Lesson overview
Tell stories across the world
Use Google Earth’s 3D library as the canvas on which to tell your stories. Integate place marks, lines, highlight areas of interest, and even import videos and images to create a full story experience within Earth.
- Get started with Google Earth
- Create a project
- Add a placemark
- Add a line and an area
- Add Street View imagery
- Share your project
- Create a project from a KML
For more Storytelling with Google Earth lessons, visit:
http://newsinitiative.withgoogle.com/training/course/storytelling-with-google-earth
Get started with Google Earth

Google Earth is now fully available in your Chrome browser. In addition to allowing you to explore the whole world you can now create and share projects.
These projects are limited only by the users imagination, you can integrate all elements of media in order to tell compelling narratives across the globe.
To get started with Google Earth, go to earth.google.com/web.
To access the main menu, click the menu icon on the top left. You can sign in with any Gmail account.
Create a project
Projects are the key storytelling tool in Earth. In a project, you can create a story on any subject by drawing placemarks, lines and shapes, adding rich contextual information to your places (text, links, images, videos, 3D views and Street View), and organizing your project into a narrative flow.
In presentation mode, viewers will fly from one place to the next following the narrative of your project, immersing them in the journey through Google Earth’s imagery and the custom content you provide.
To begin a new project, click Projects.
Select Create. Or, if you want to access your previous projects, click Open.
To give your project a title and description, click on the pencil icon on the top right of the menu and fill in your details.
Add a placemark
One of the main functions of Projects is the ability to add markers, lines areas and even incorporate images and video into your narrative.
To add a placemark, click New feature
If you have already navigated to the place you want to mark, click Add placemark and Earth will drop a pin in that location.
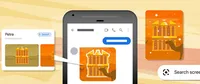
You can also search for a place using the search icon. For example, we searched for Everest Base Camp Trail. When you have found the right place, click Add to project.
To change the appearance and features of your placemark, click Edit place.
This menu lets you customize the color, size and altitude of the placemark.
Many of Earth’s commonly searched locations appear with a ‘knowledge card’ pre-populated with facts and photographs from Google. You can remove Google’s entries and add your own by clicking Replace.
You can set the point of view that your reader will experience by dragging the camera position and clicking Capture this view.
To preview your creation at any time, click Preview presentation.
Add a line and an area
In addition to adding placemarks, you can also draw a line or define an area on your map.
To draw a line, click the line icon at the bottom of your screen.
Click on the points you want to connect, then press Enter to save the line to your project.
To customize the color and width of your line and the information displayed, click Edit place > Edit line and make your selections. You can also set the reader’s perspective by using Capture this view.
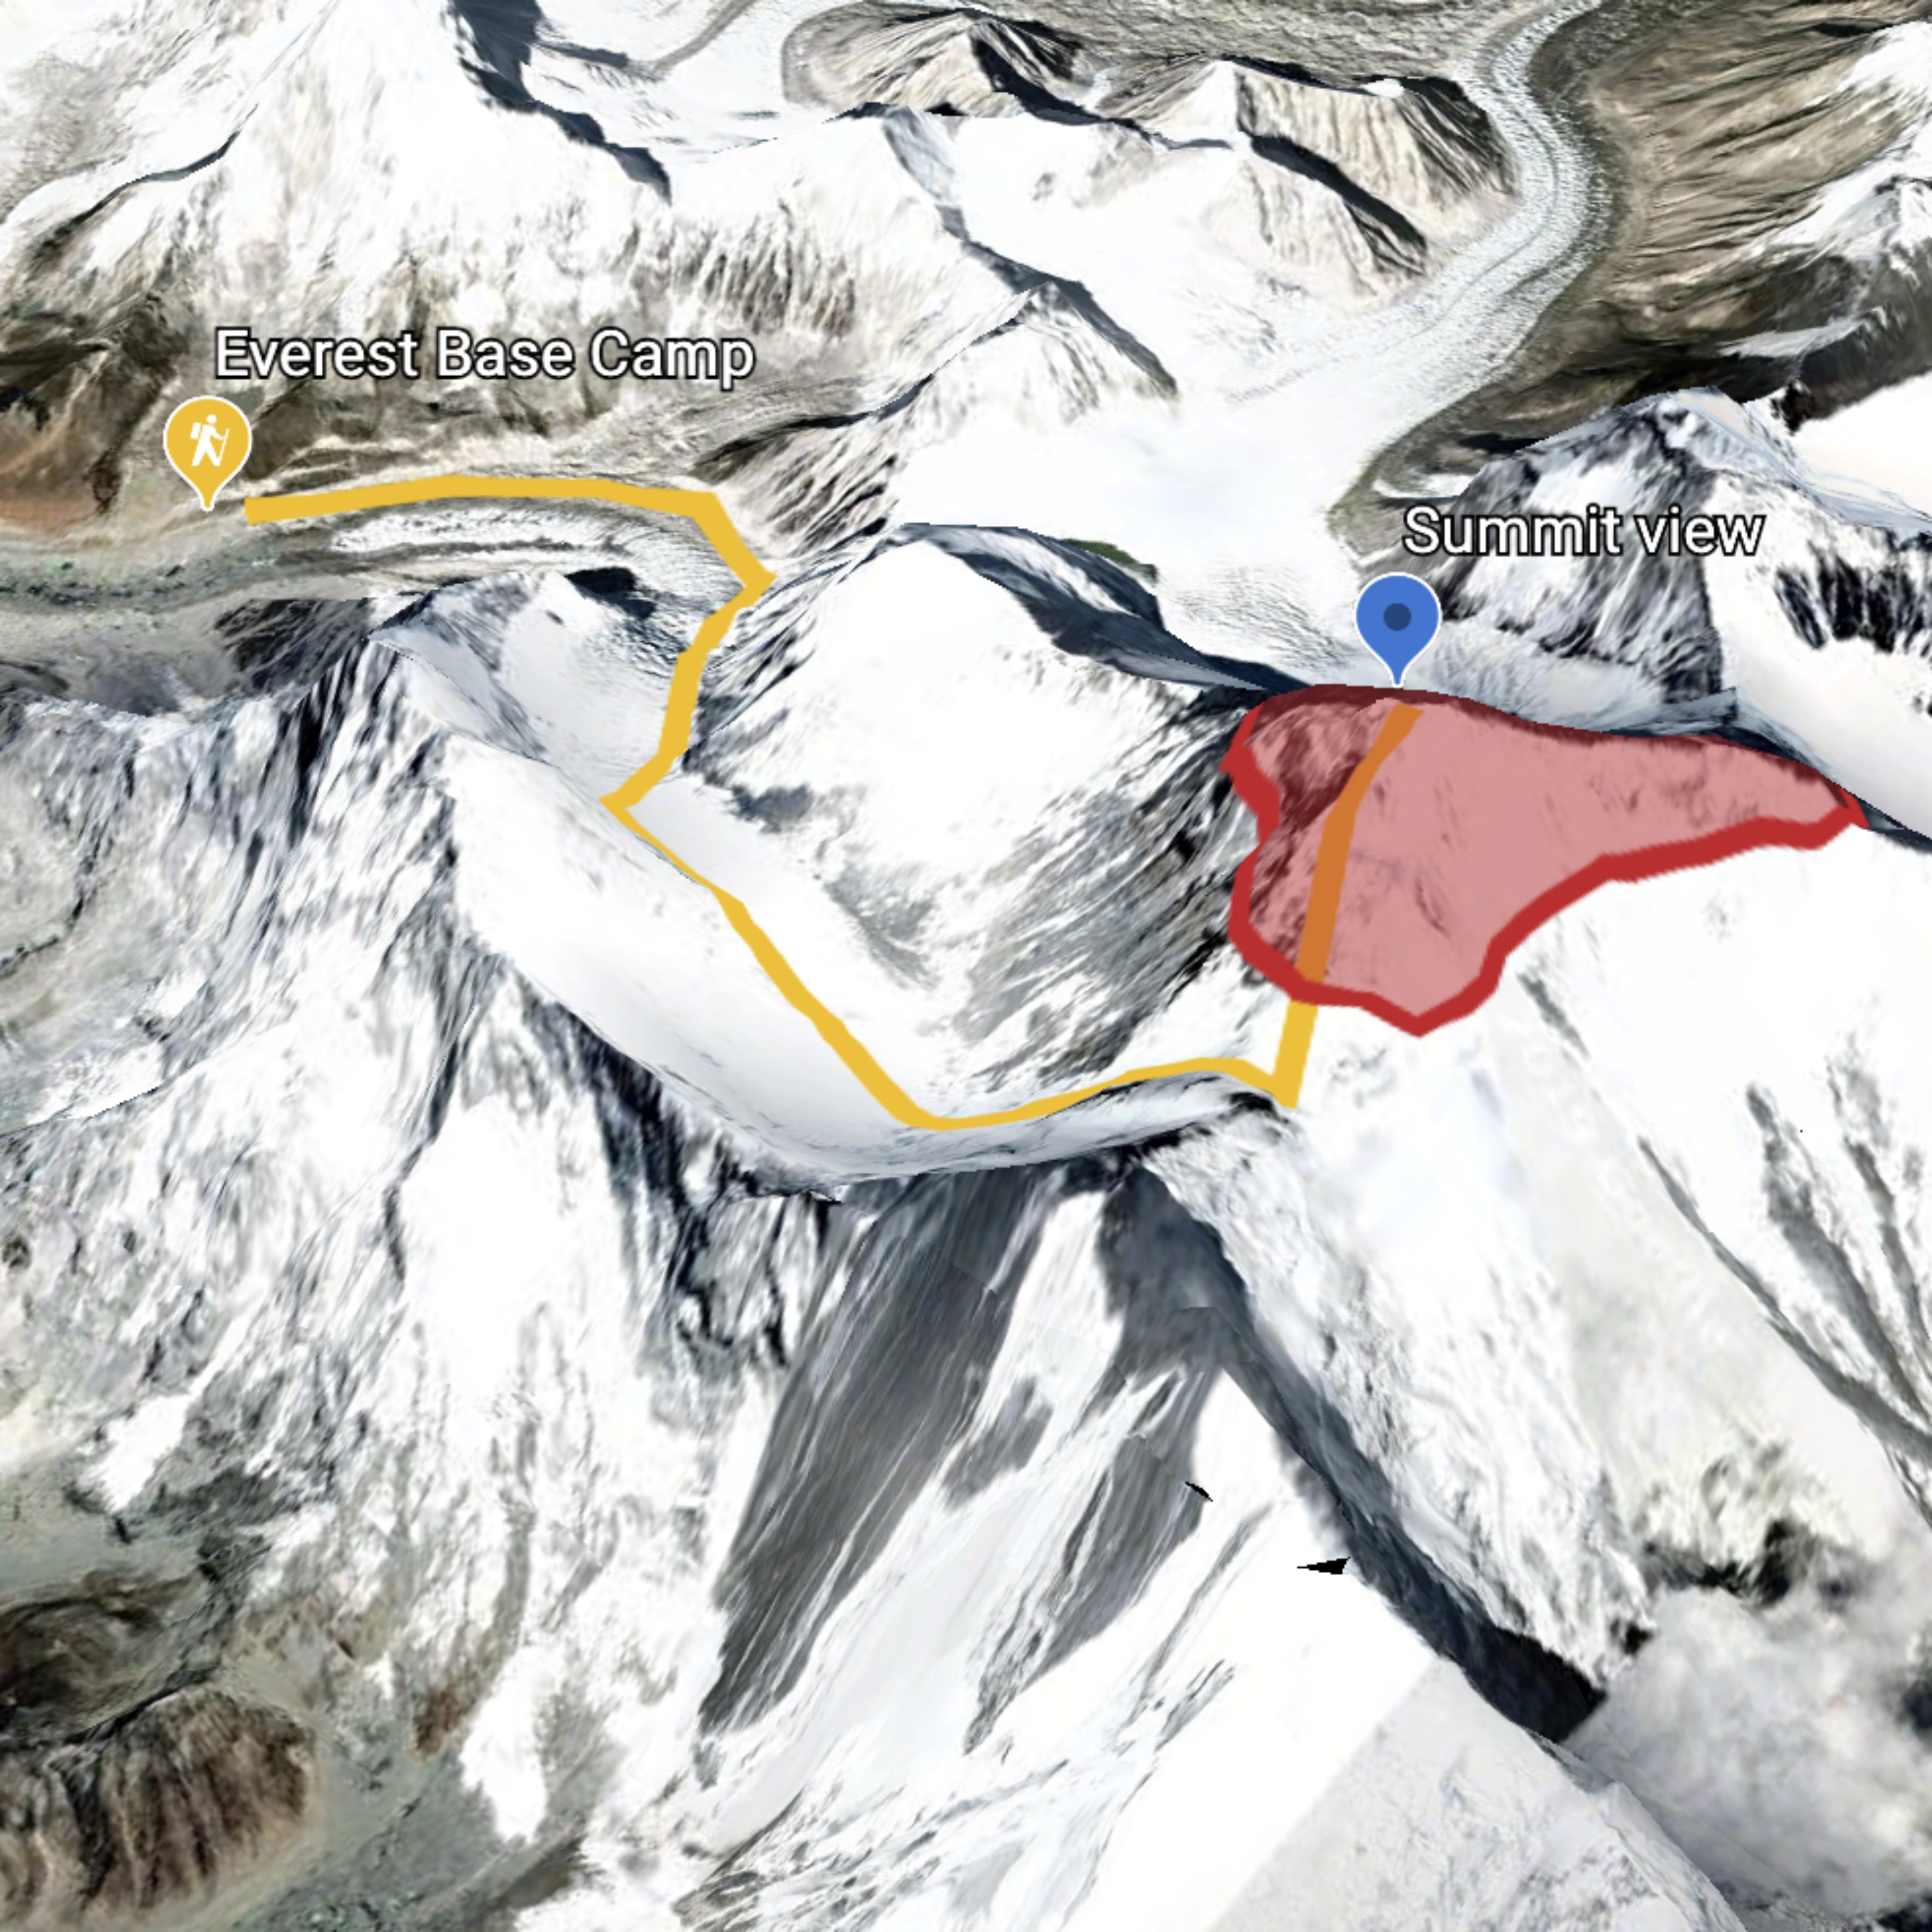
To add an area, go back to the Project menu. Click New feature button and select the line element again.
Using the altitude symbol in the lower right hand corner of the screen, we are going to highlight the area above 8,000m.
To draw a line around the mountain, click multiple points at 8,000m.
Once you have linked the line back to the first point, it will automatically form a polygon which you can save. To access the advanced menu where you can change the color and saturation of the shape, click Edit place.
Add Street View imagery
Earth also incorporates imagery that has been uploaded to Google Street View. You can add this to your project to give people the firsthand experience of being in that part of the globe
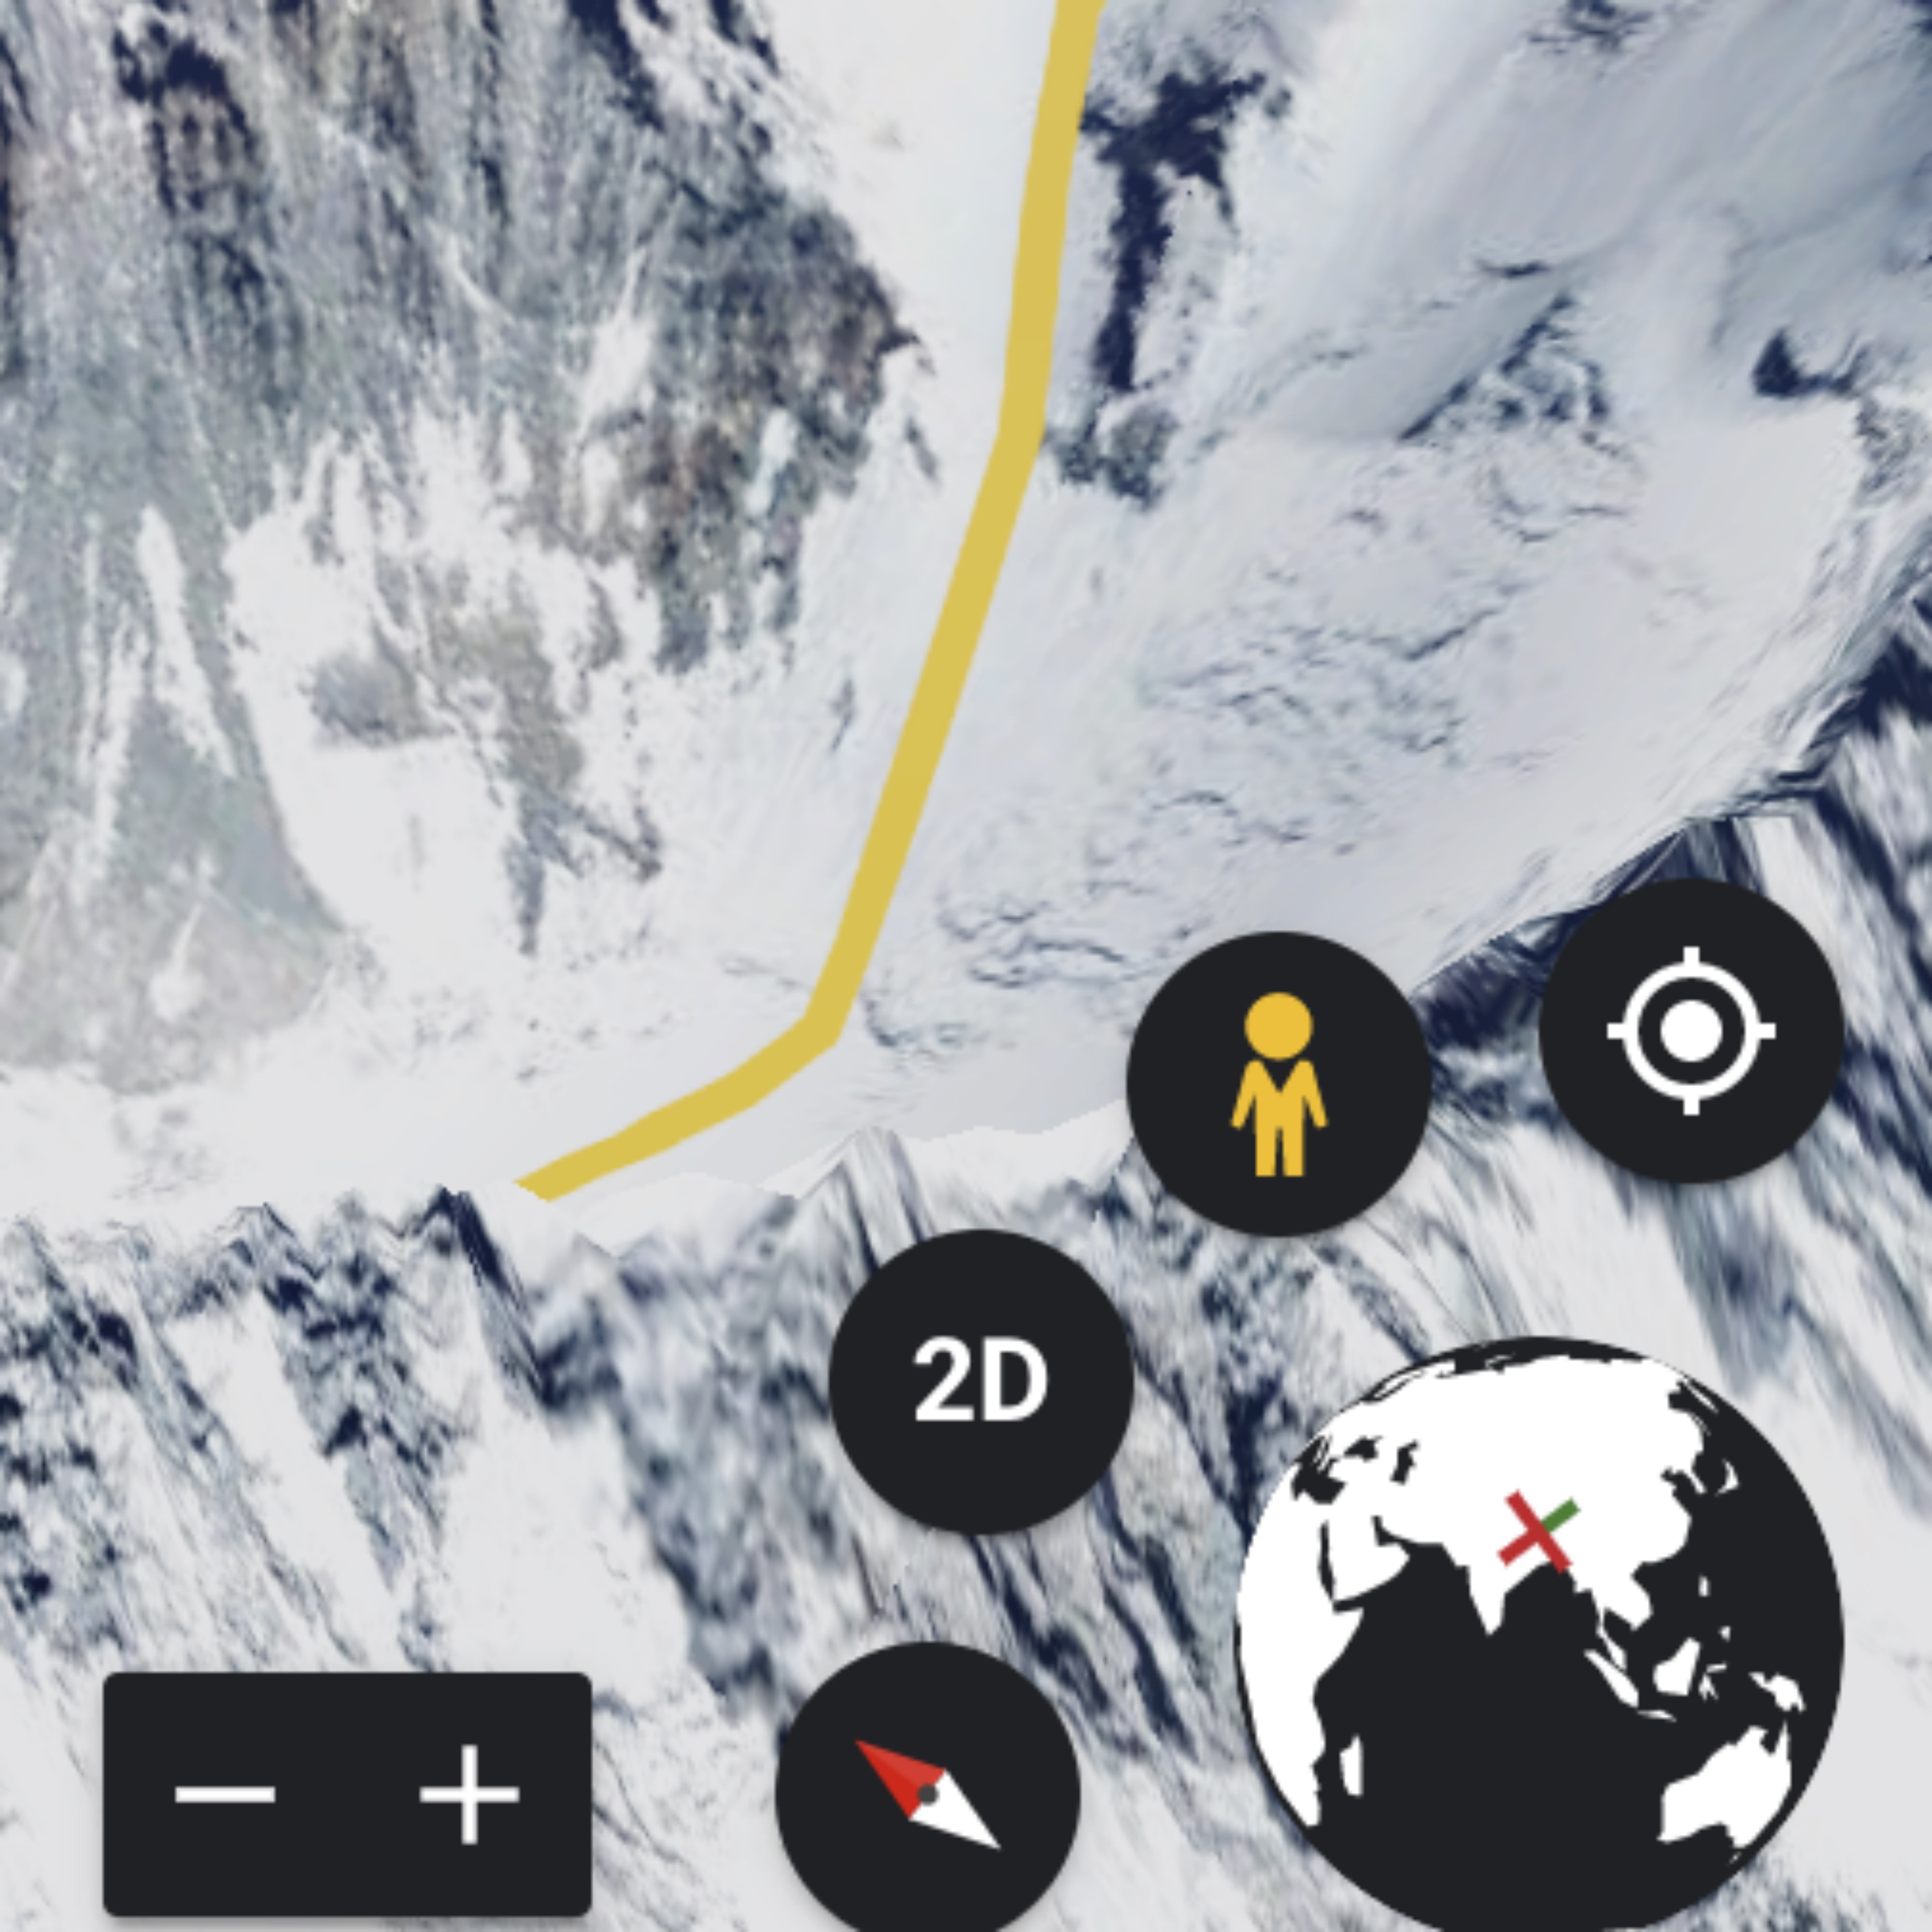
Click on the Street View icon in the bottom right of your screen and it will show you all available imagery in that area.
At the summit of Mount Everest, there is a blue dot indicating the presence of a photosphere.
Click on the blue dot and you will be taken inside that photosphere. Click the Capture this view button.
Give the photosphere a title and save it to your project.
To see your project, click Present.
Share your project
The real joy in storytelling is sharing it with others. Earth now allows you to share or collaborate with others. Your whole team can work on one project and then share your worlds with others.
The three buttons at the top allow you to share, delete or export your project as a KML.
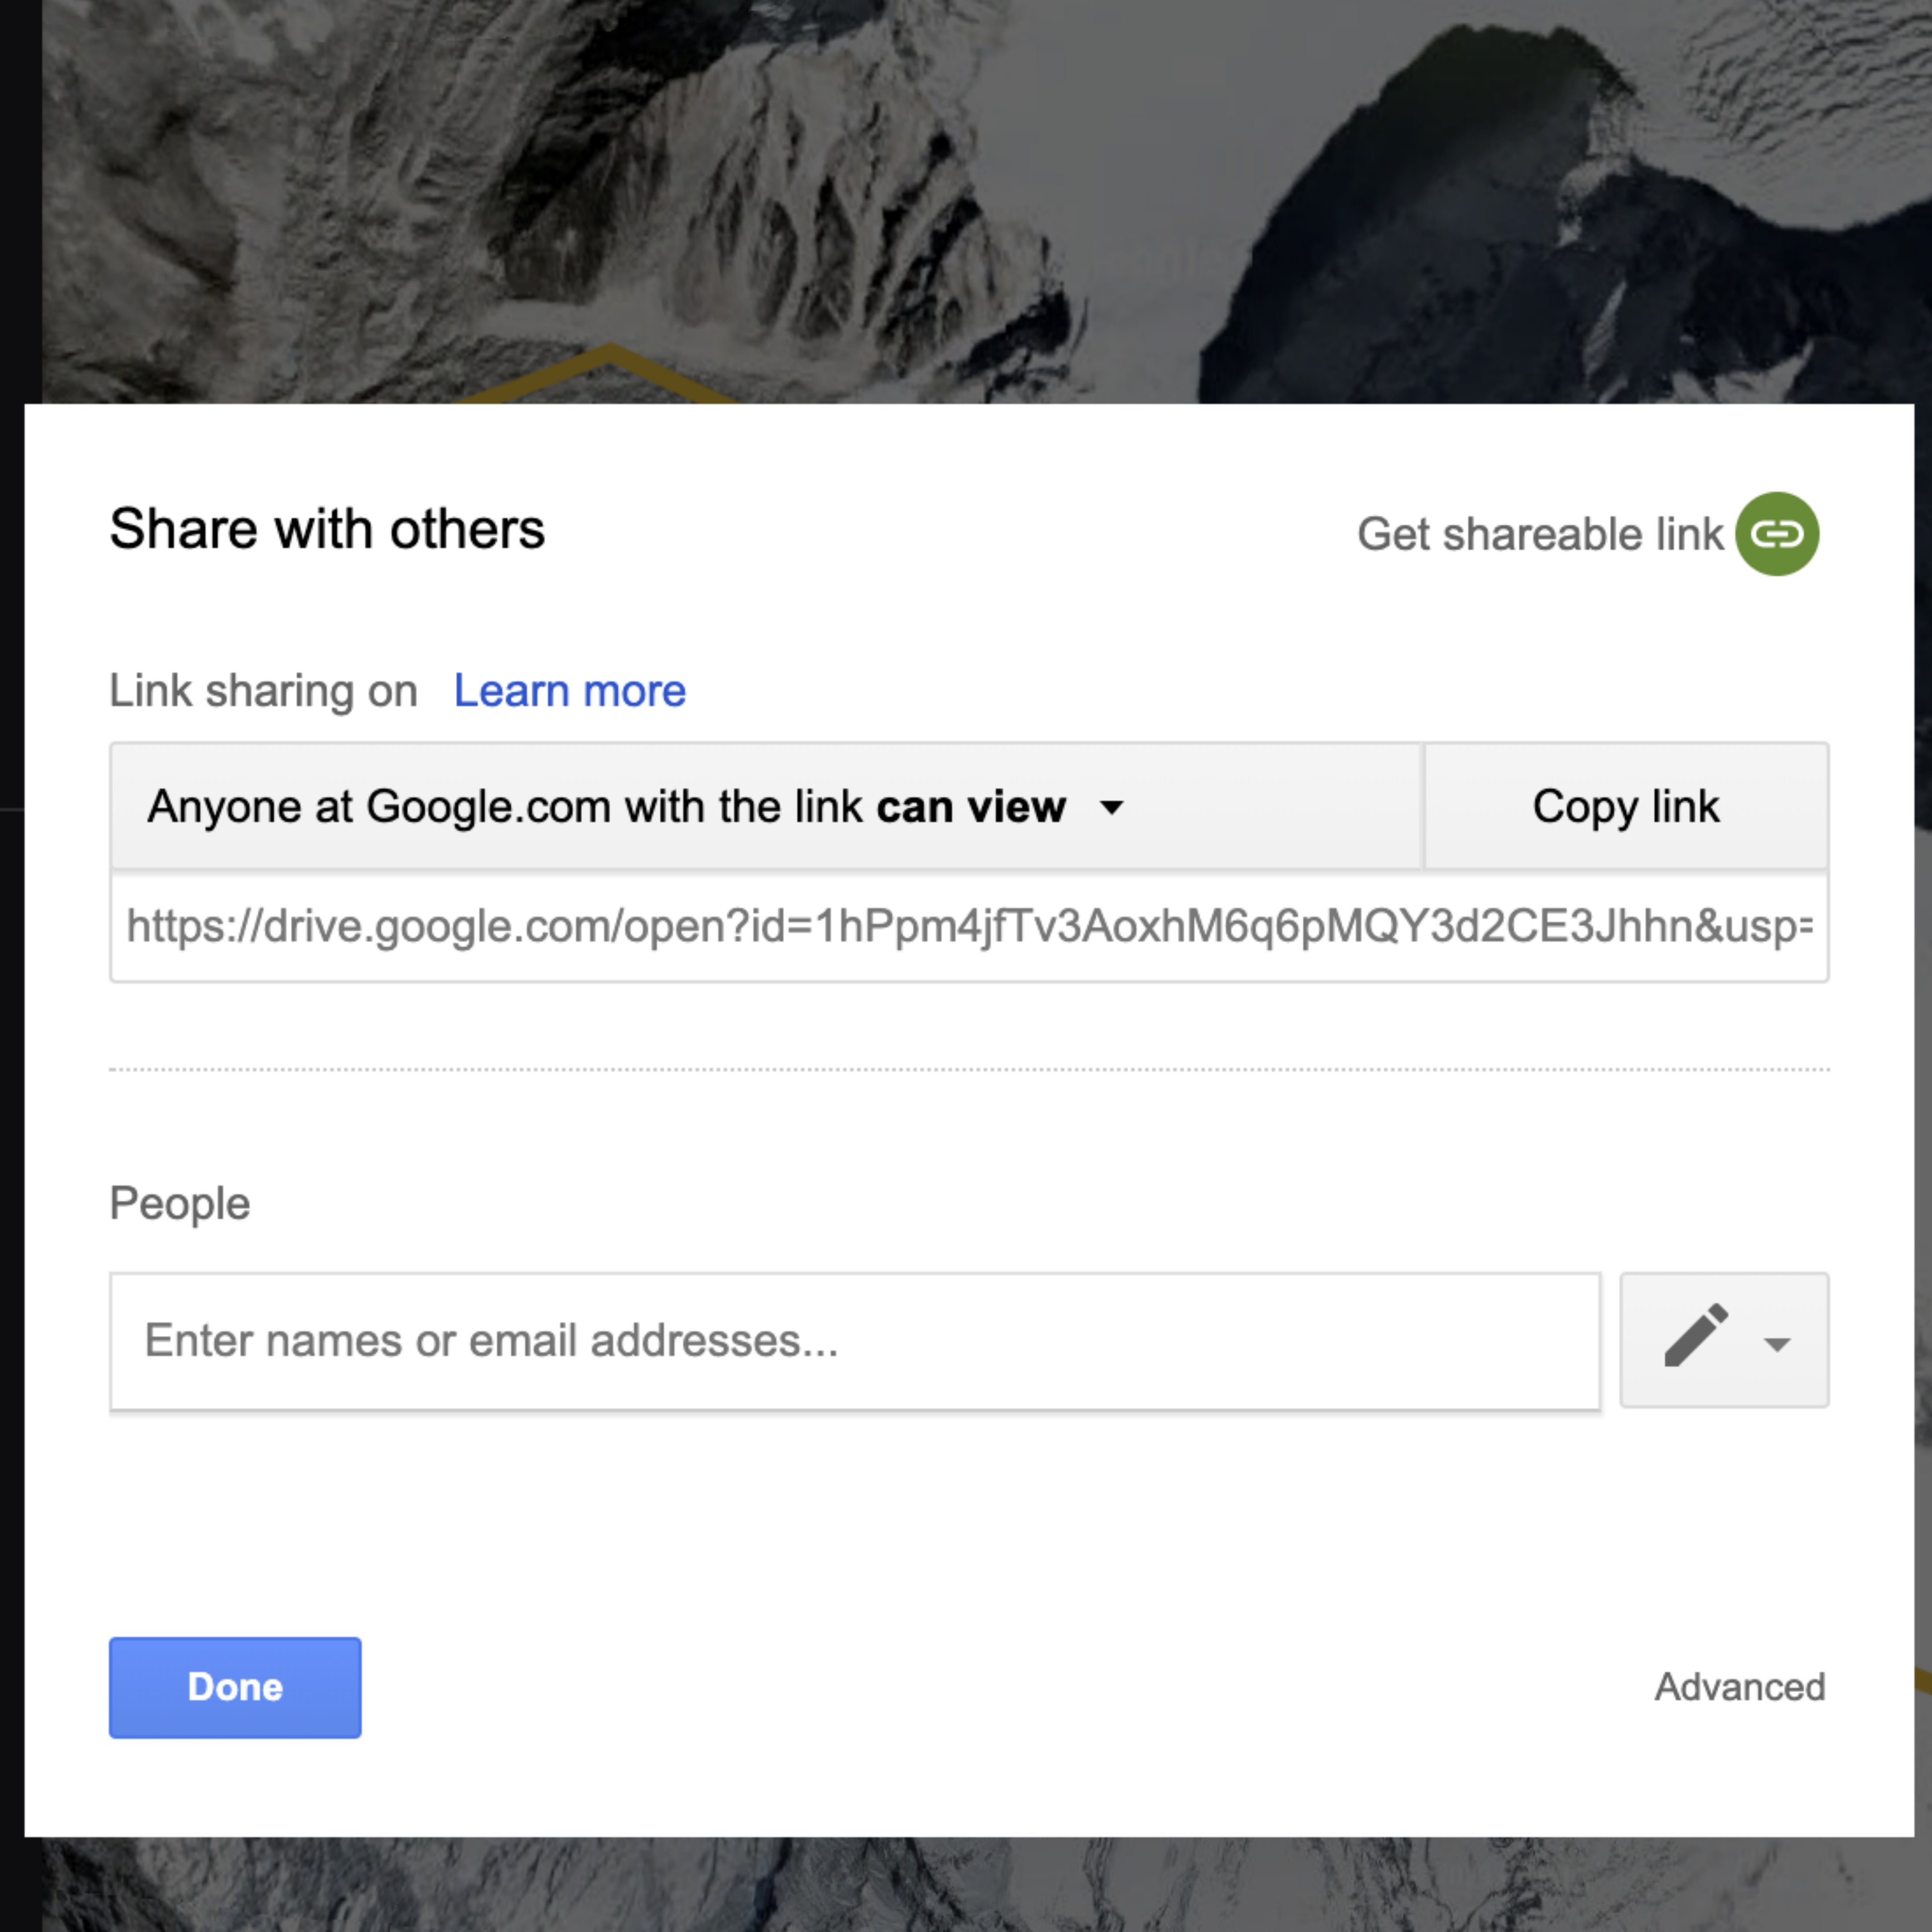
Click Share to open a new window where you can invite people to collaborate, view or create a shareable link.
By clicking on the pencil icon, you can set the permissions to allow another user to either view your story or edit it. The editing function allows multiple people to collaborate on the same project simultaneously.
Click on Get shareable link share what you have created.
Create a project from a KML
If you’ve already created a map using another mapping tool such as Google My Maps, Tour Builder or Earth Pro and saved it as a KML or KMZ file, you can import the KML or KMZ to view and edit in Google Earth, with some limitations.
Click Settings.
Click the slider to Turn on KML file import. Click Save.
On the main menu, select Projects.
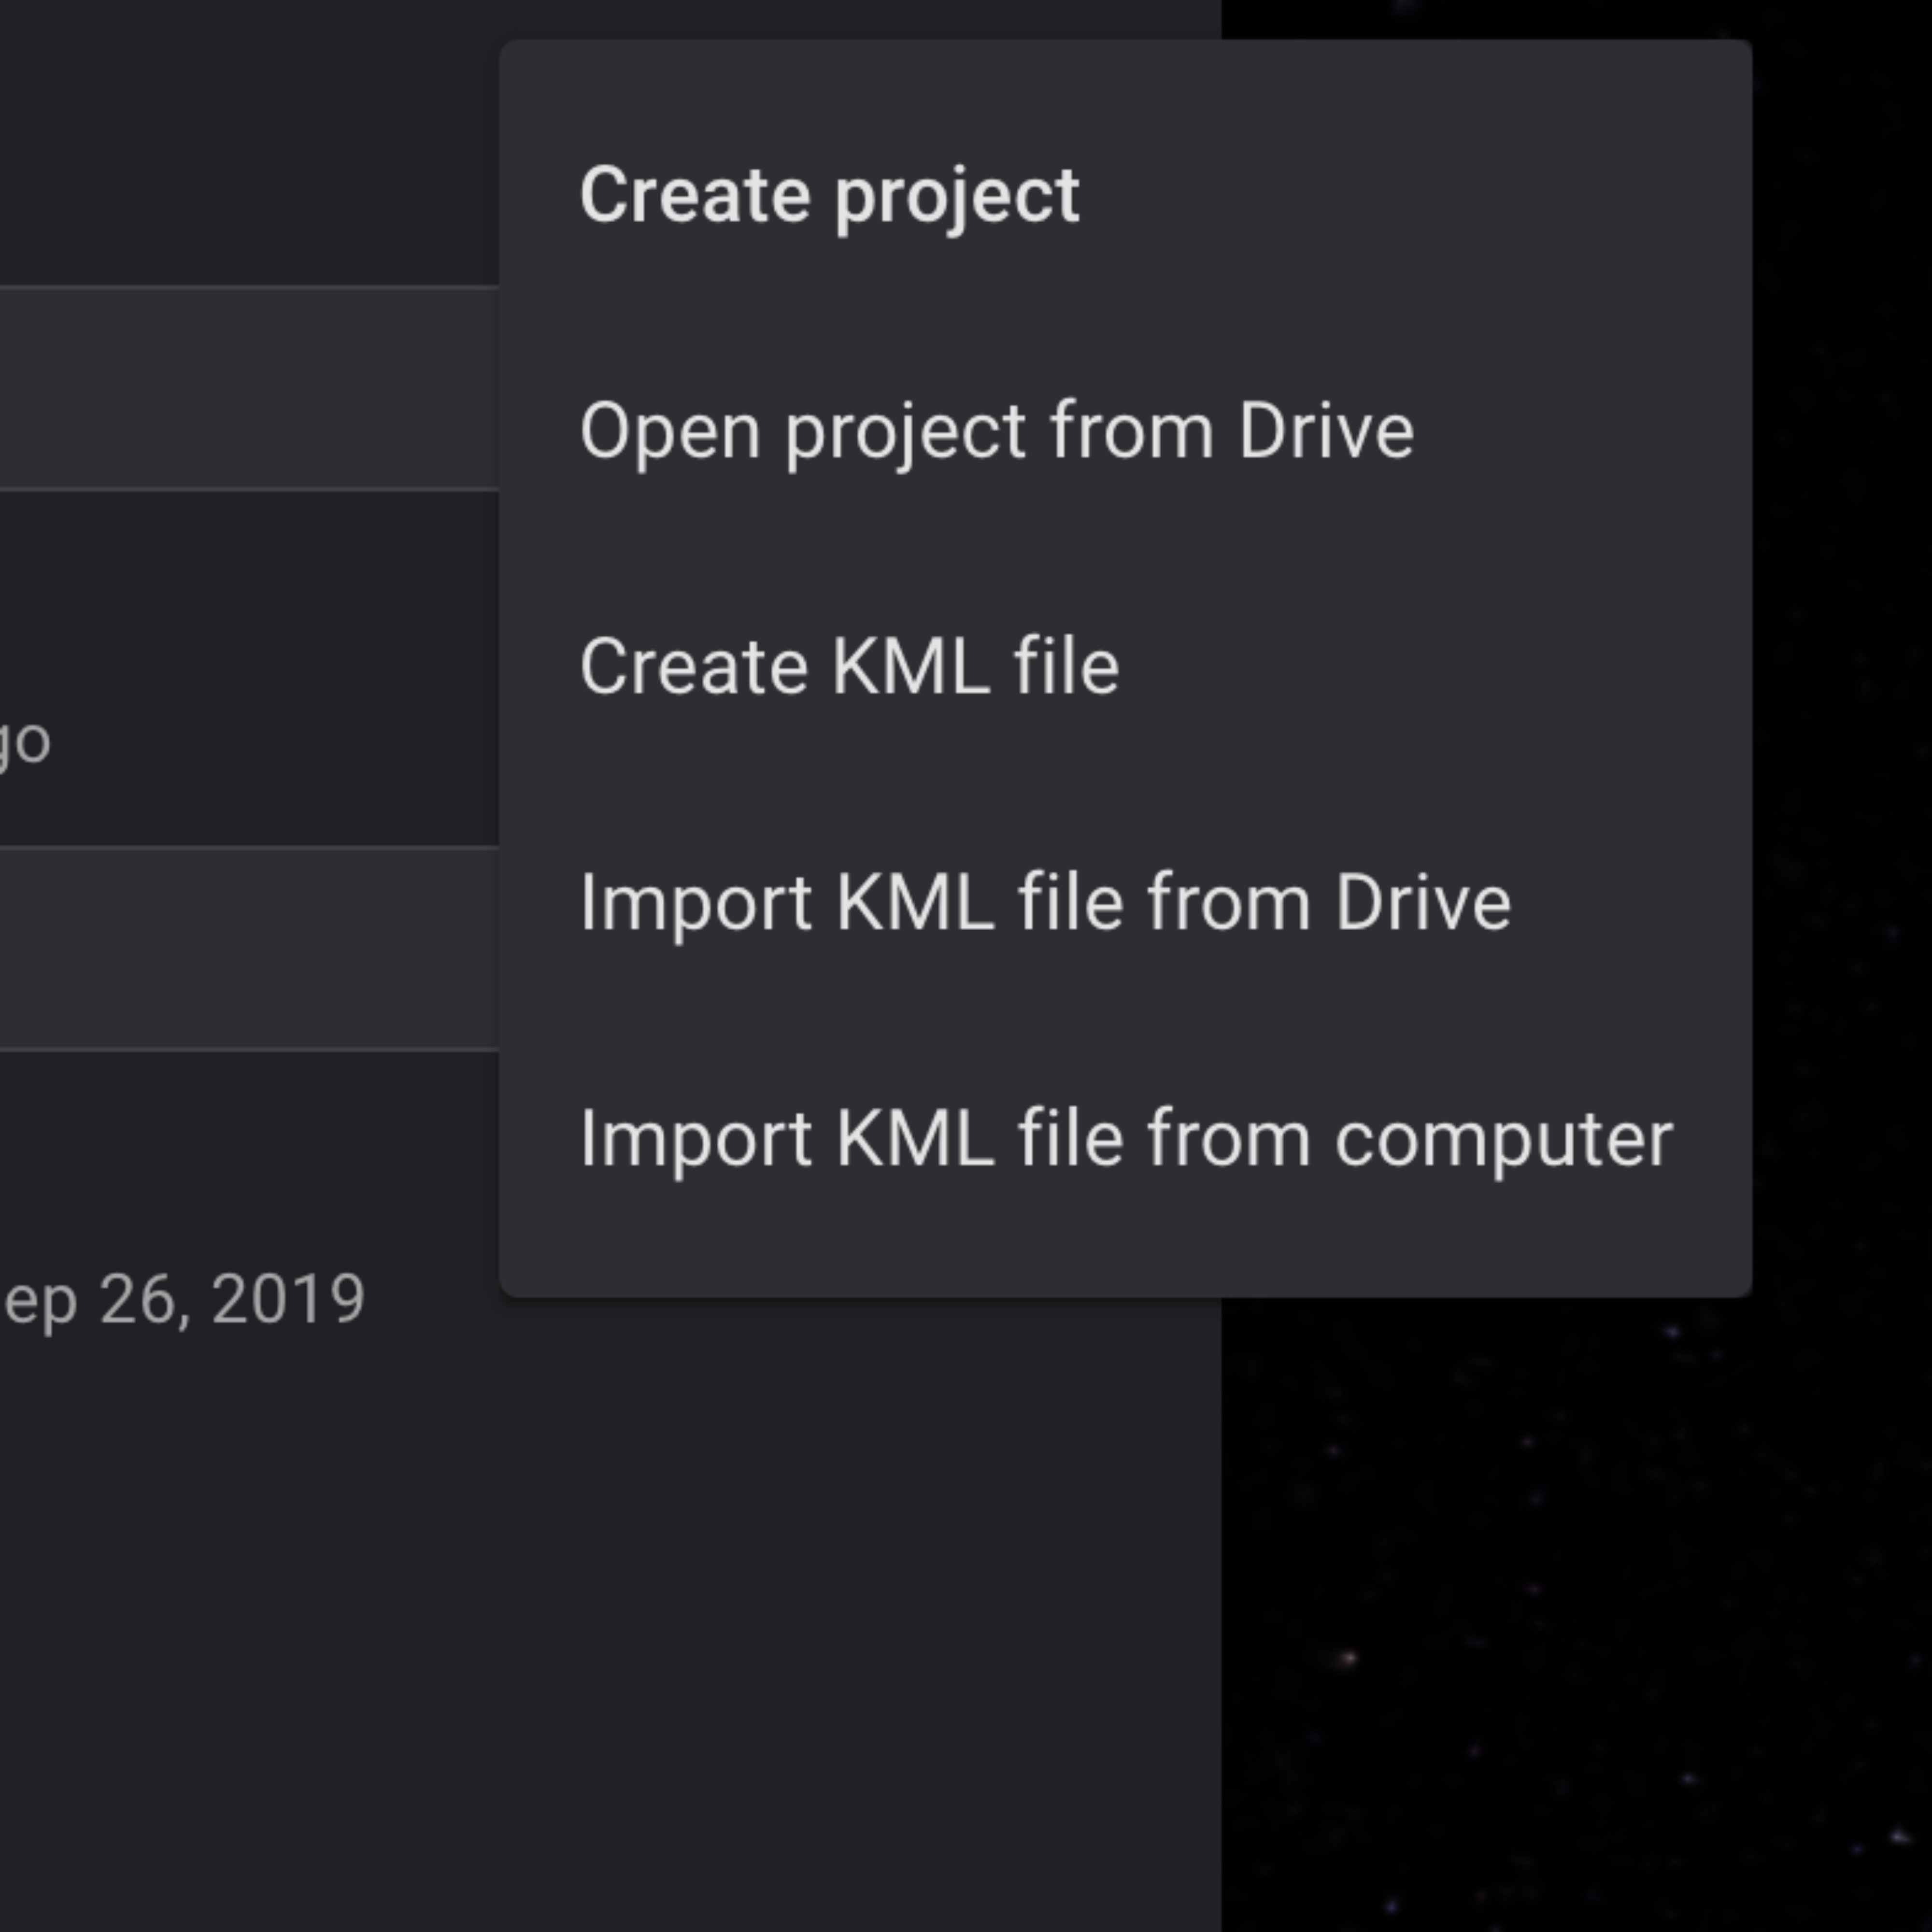
When you click on New project, you will see the option to import KML files from Drive or your computer.
Congratulations!
You completed “Google Earth Creation Tools: Tell your story across the world.”
To continue building your digital journalism skills and work toward Google News Initiative certification, go to our Training Center website and take another lesson:
For more Storytelling with Google Earth lessons, visit:
http://newsinitiative.withgoogle.com/training/course/storytelling-with-google-earth