


Google Street View: Verify images.

Check the authenticity of an eyewitness photo or video.
Confirm the location.
Whether you’ve sourced a newsworthy image from social media or received it directly from someone claiming to be at the scene, confirming where a photo or video was captured is an essential step in the verification process. Google Street View, on mobile or desktop, allows you to virtually visit an alleged location and match up visual clues such as signage, architecture and road markings.
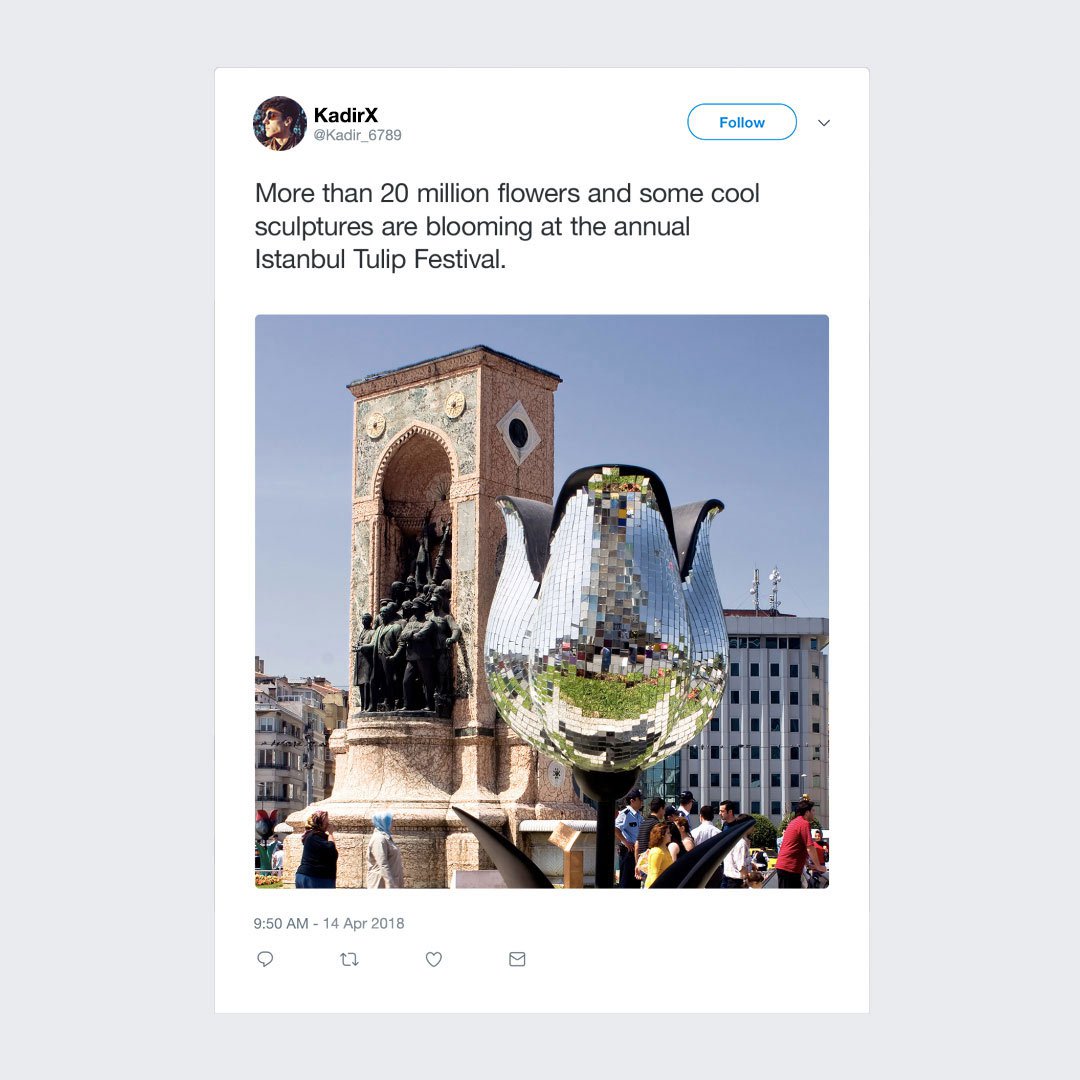
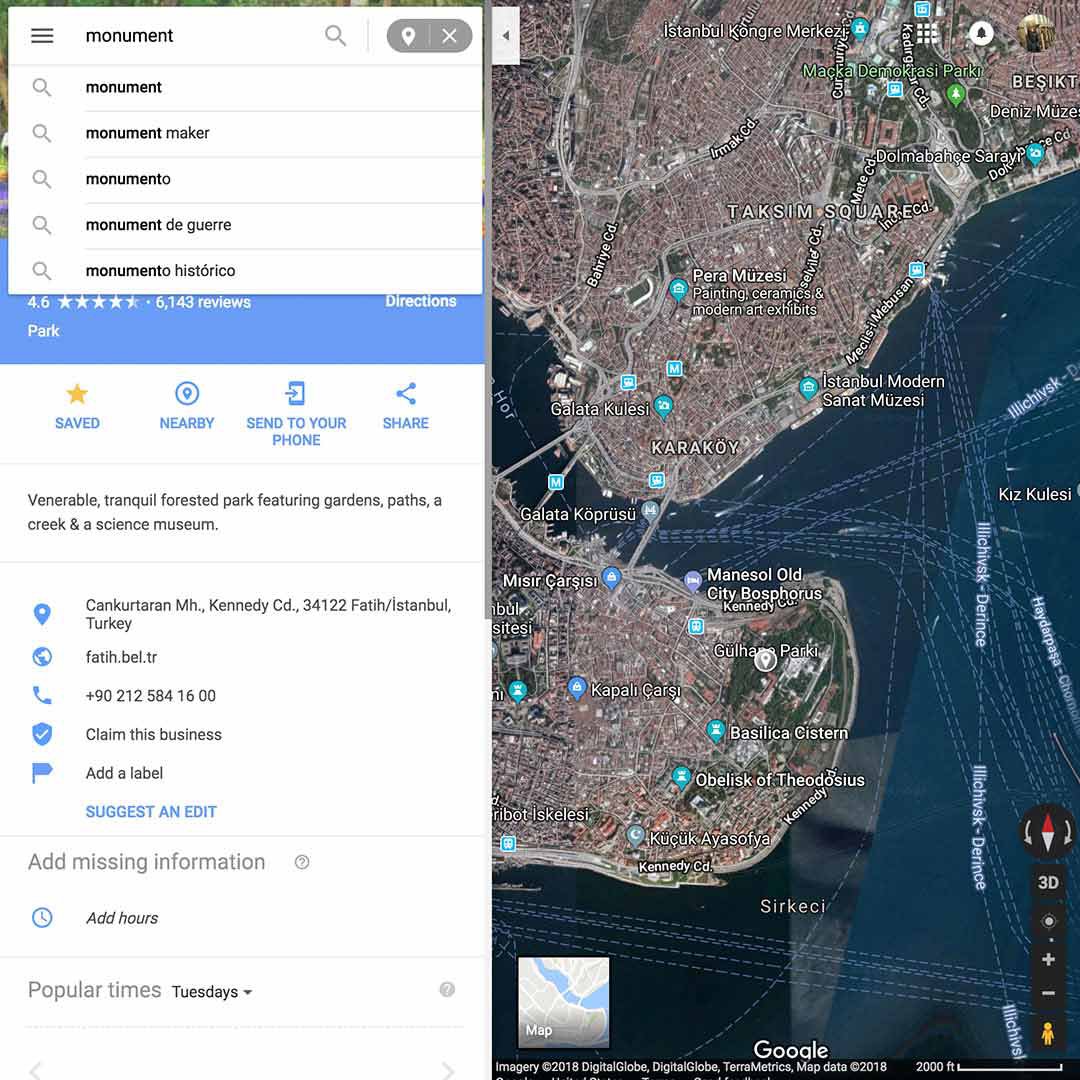
For example, a person tweeted this photo of a public art installation in Istanbul and you want to find out where it was taken. Using the visual details in the photograph you can search for it on Google Street View to pinpoint the location.
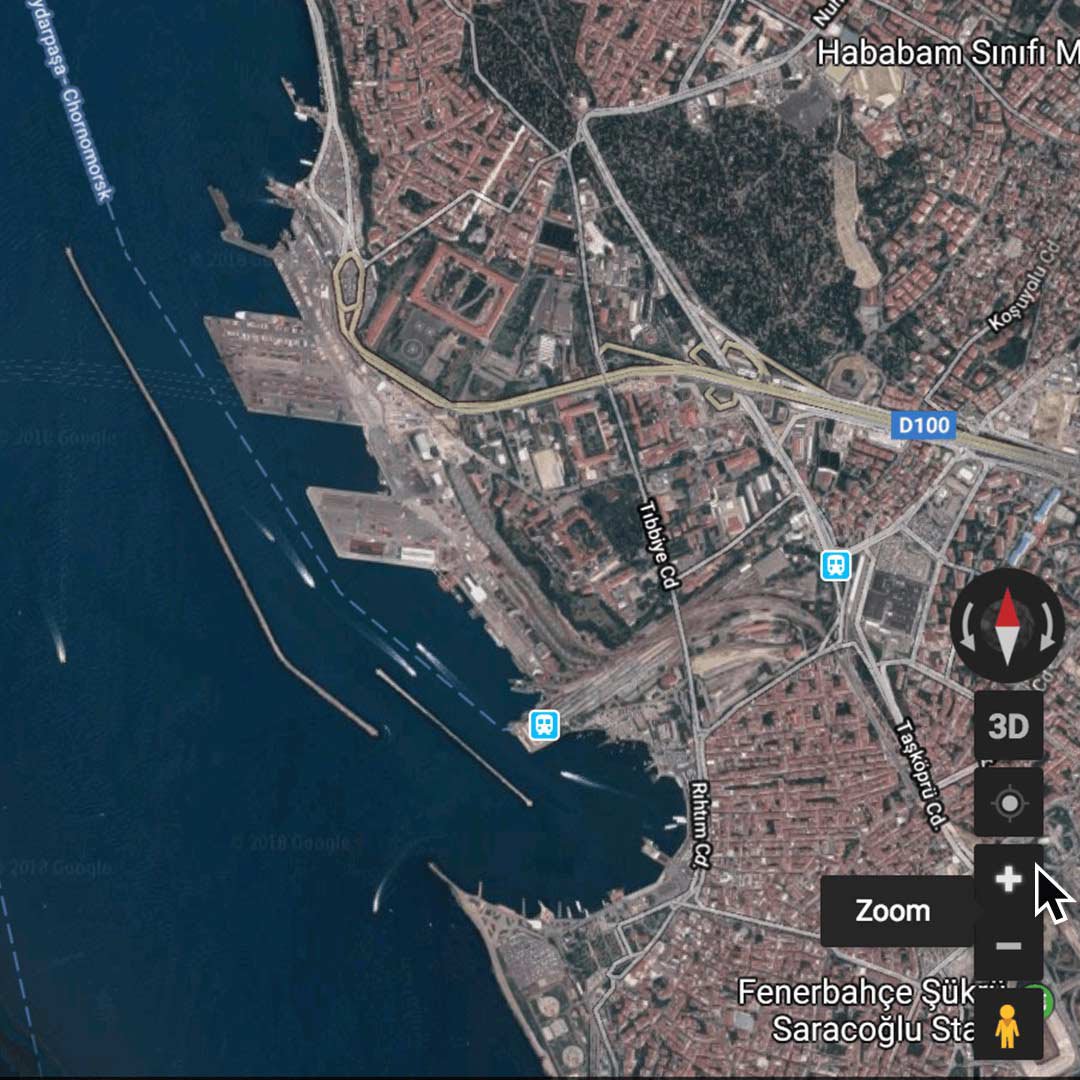
Start with a Satellite view.
Steps
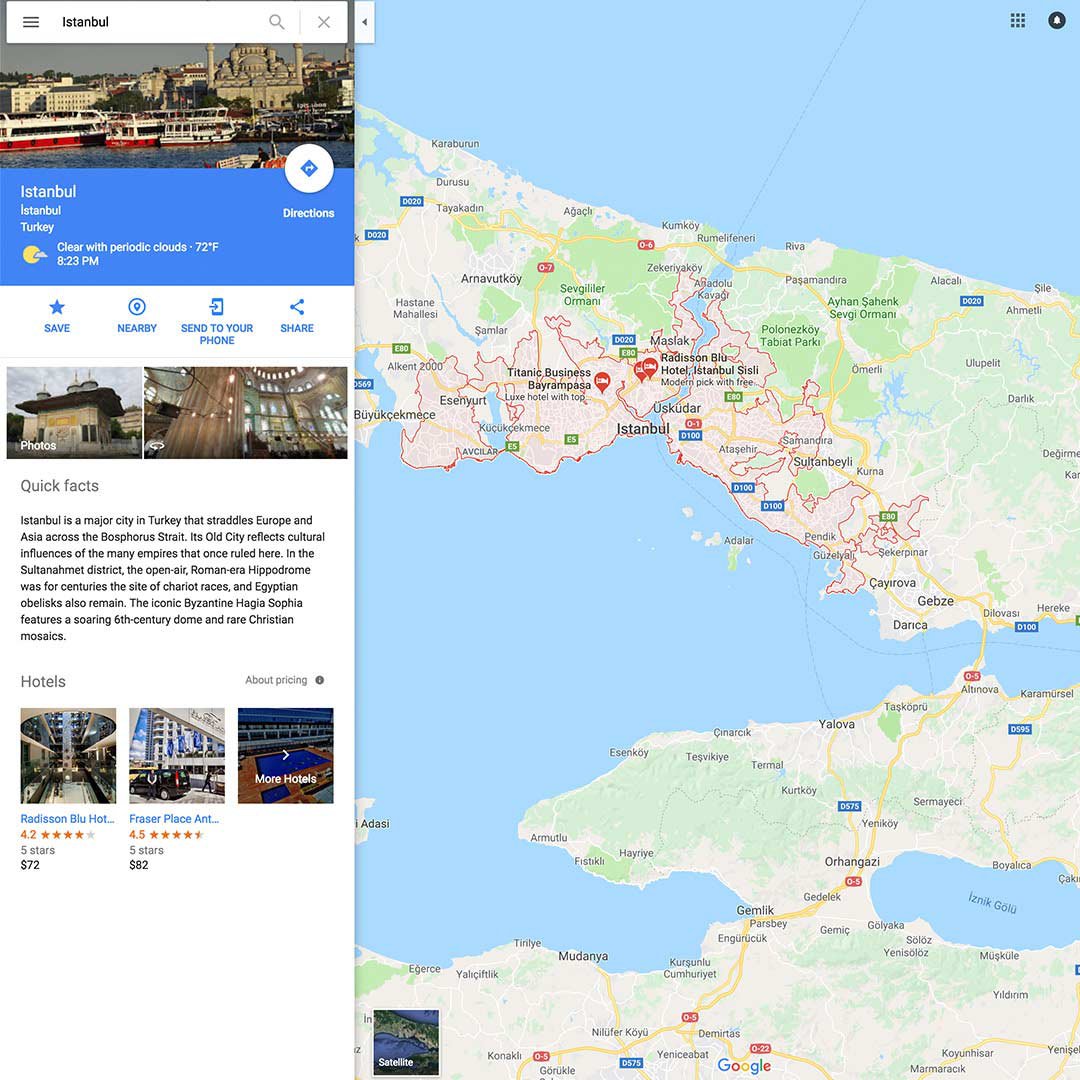
Go to google.com/maps and search for the most detailed location you have, in this case Istanbul.
To switch between map and satellite views, click Satellite in the lower-left corner.
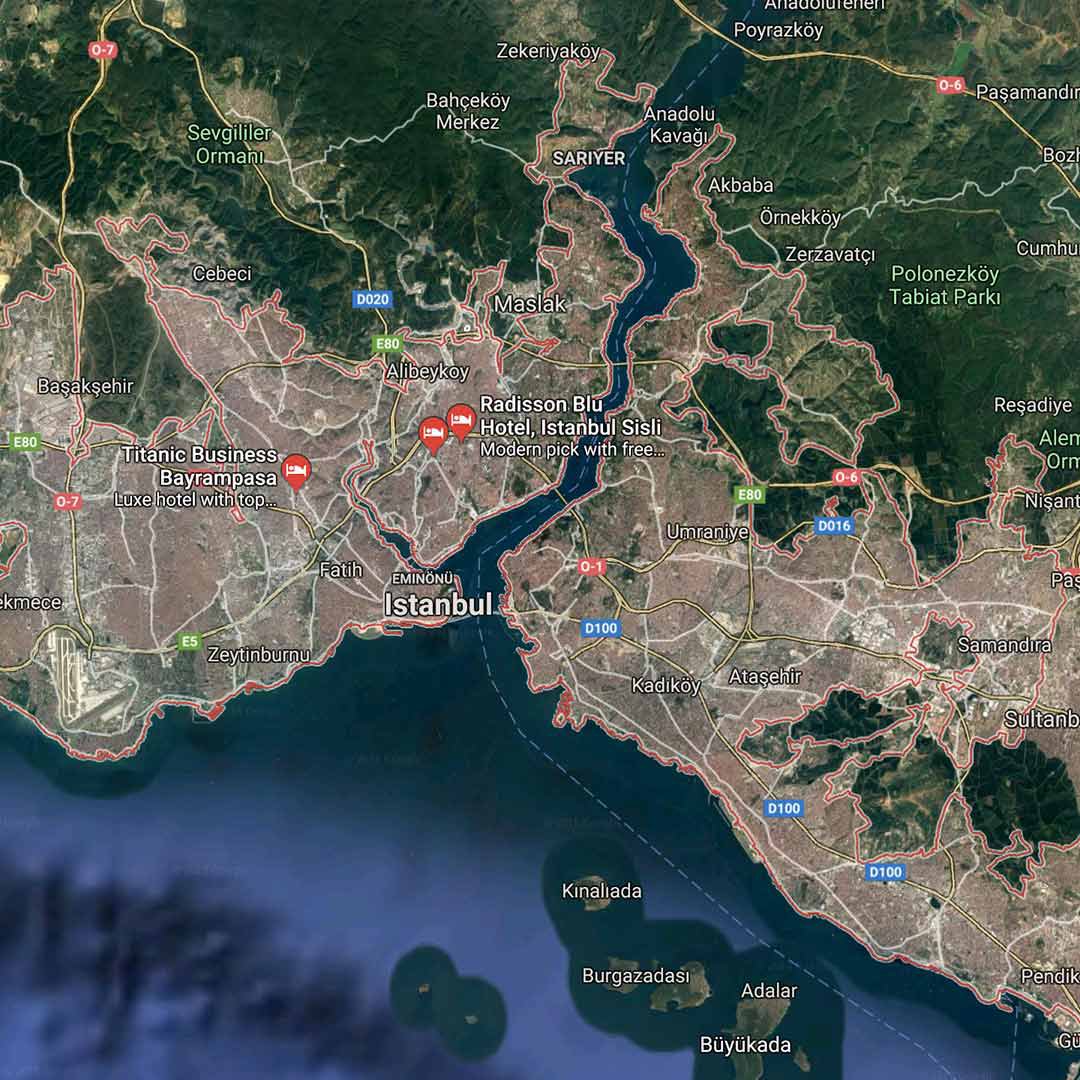
Satellite view may help you spot distinctive landscape features, like the park we’re looking for. In other cases, it might illuminate wide roads, patches of trees, public plazas, mountains, water features, etc.
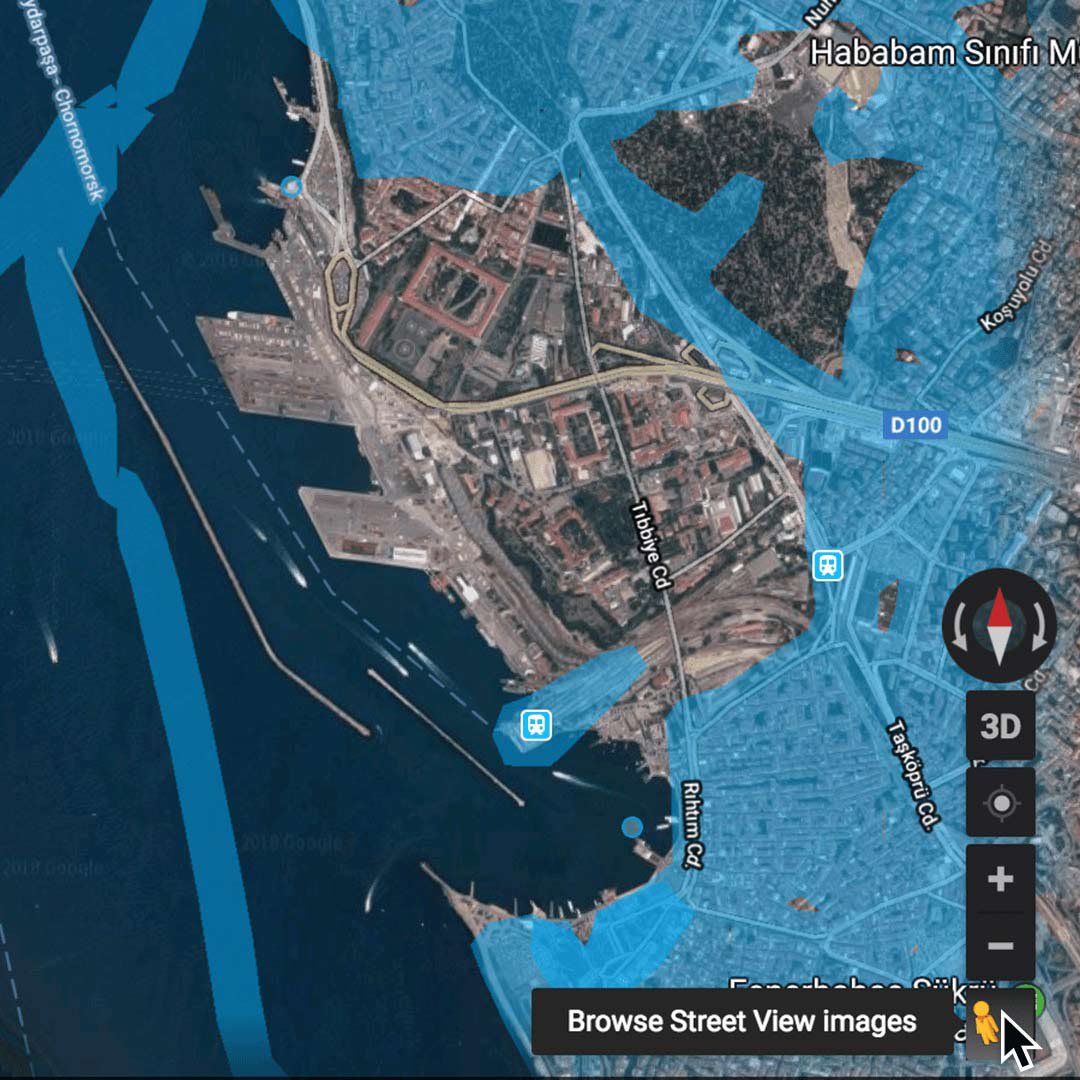
Navigating in Google Street View.
Steps
Use + plus and - minus to zoom in and out of a specific area.
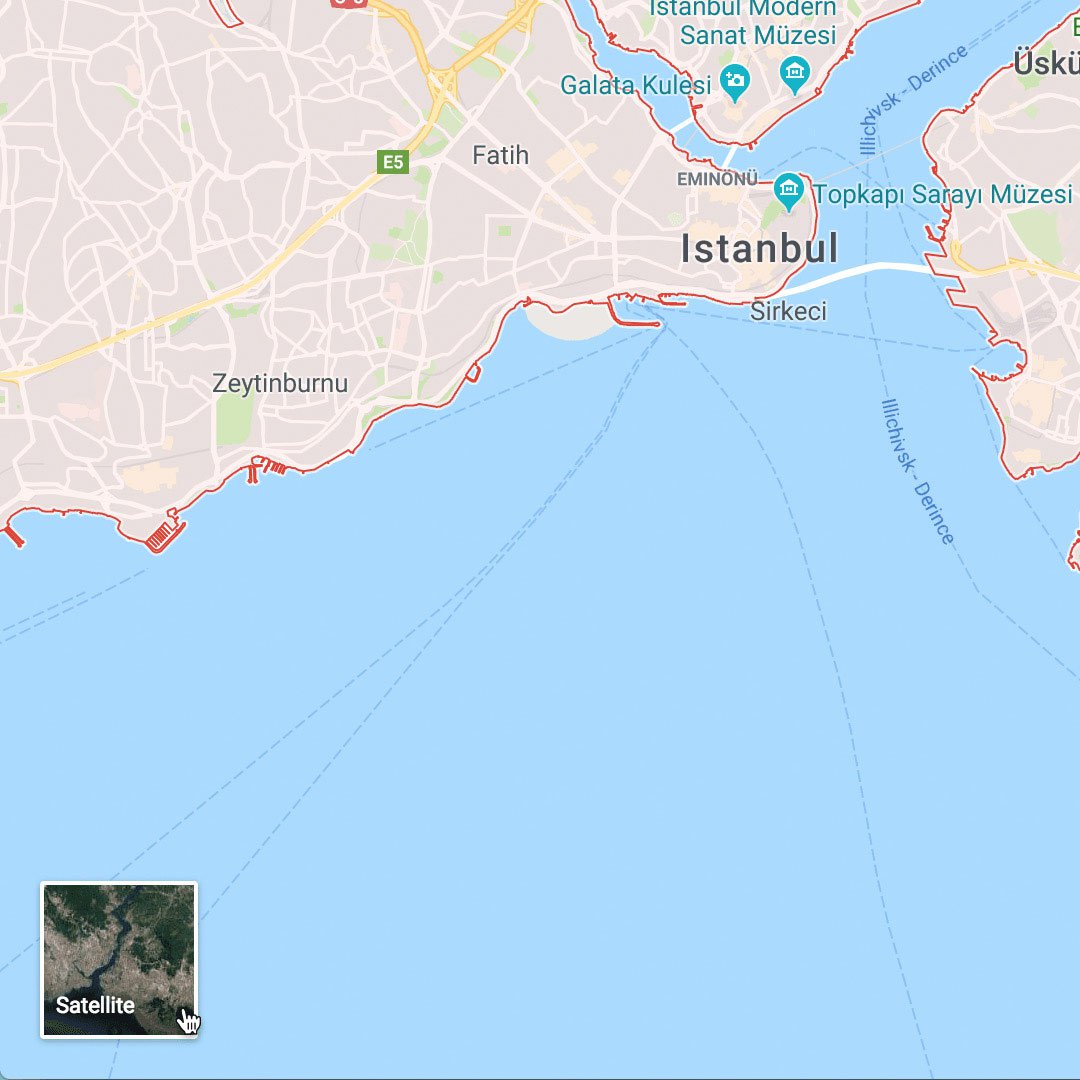
If you’re working on a desktop or laptop, click the yellow Pegman in the lower-right corner. This will reveal blue lines on the map to indicate areas where Google Street View is available.
The blue dots represent photo spheres, which are user-generated panoramas uploaded to Google Maps.
Look for visual clues.
Steps
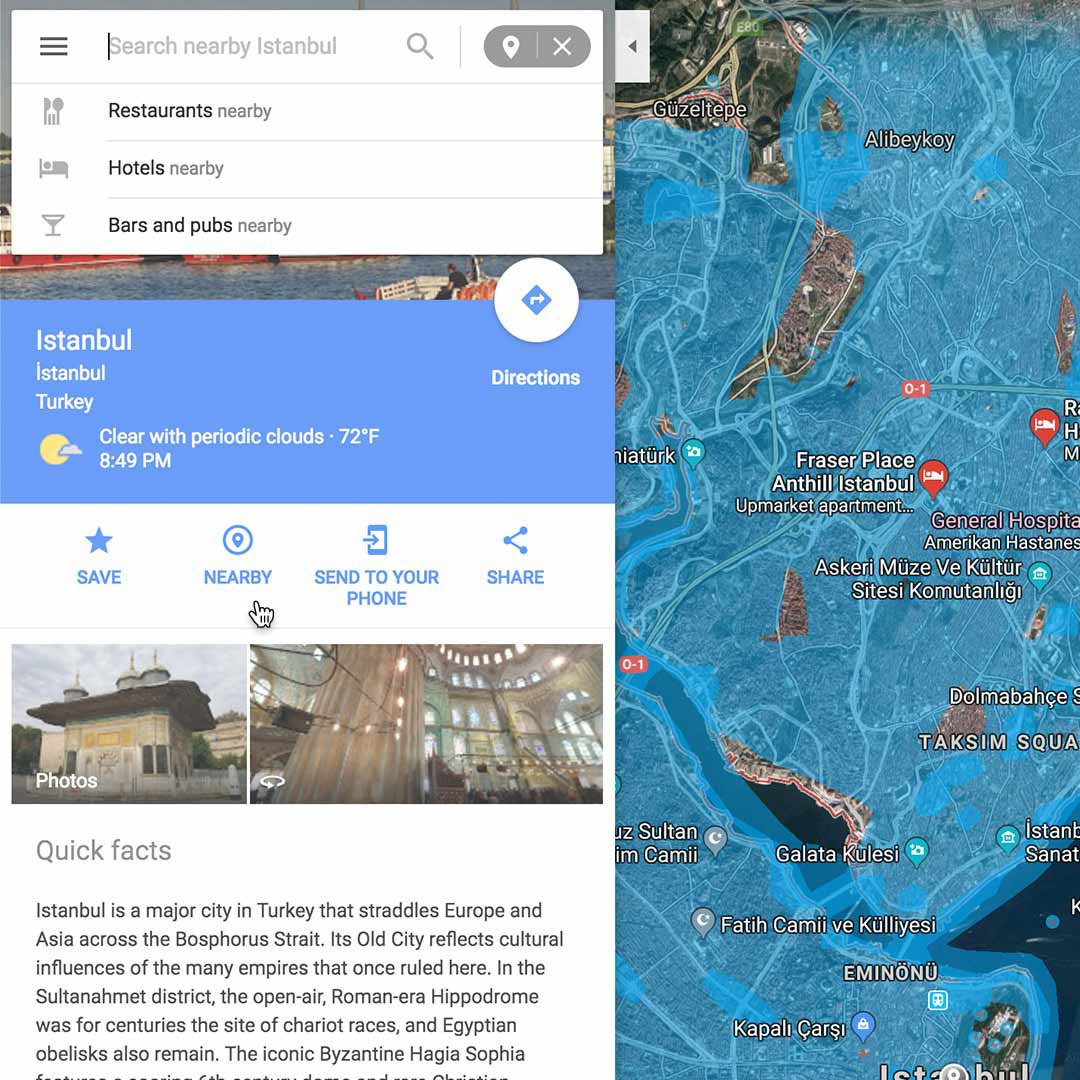
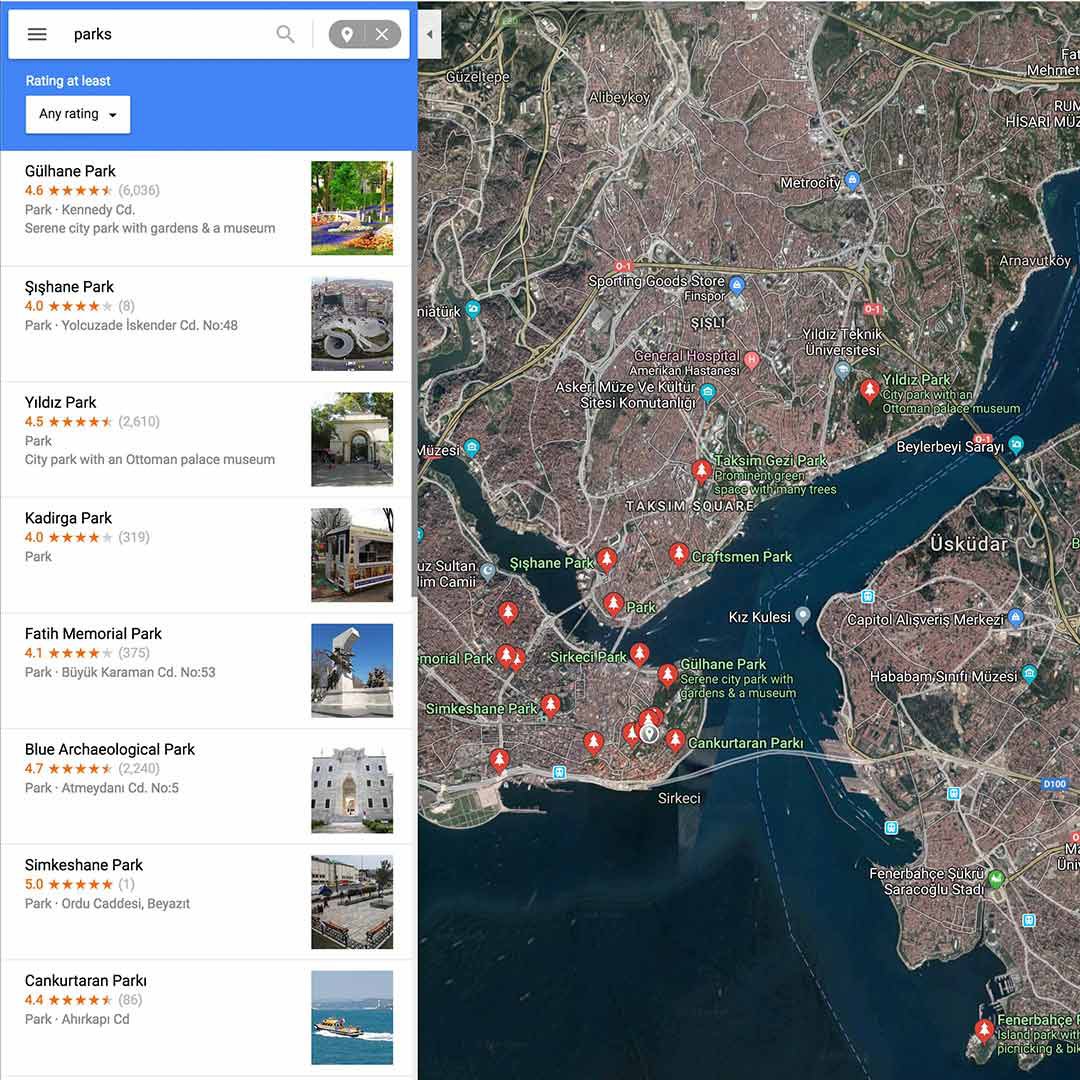
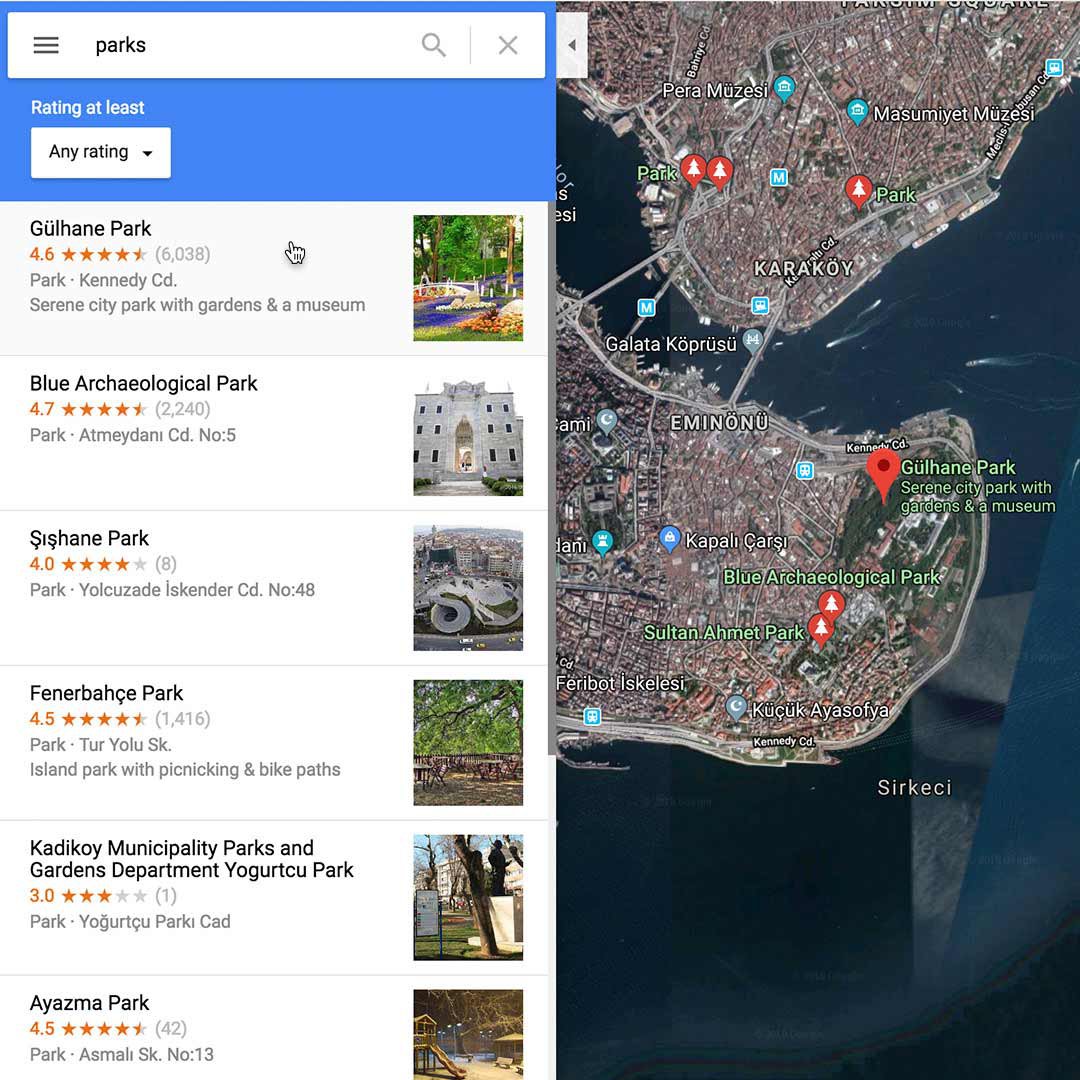
Now that you’ve defined the Istanbul search area, click Nearby to establish other parameters.
Since this post is about a tulip festival, we’ll search for parks, and see results displayed by red dots on the map. Other easily identifiable features in urban areas might be hotels, transit stations, or large shopping centres. In rural areas, you might be searching for lakes, mountains, rivers or other natural features.
Save your clues.
Steps
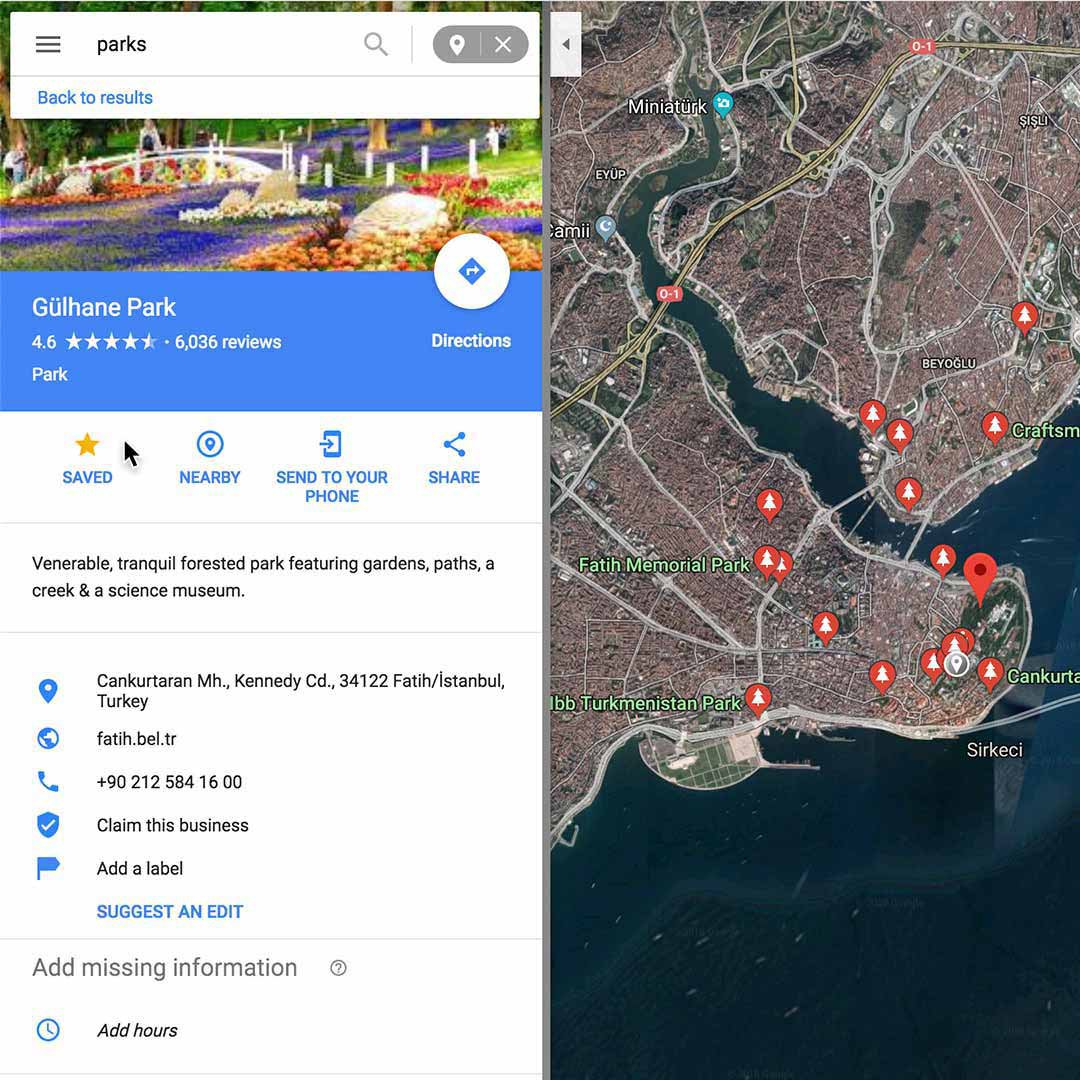
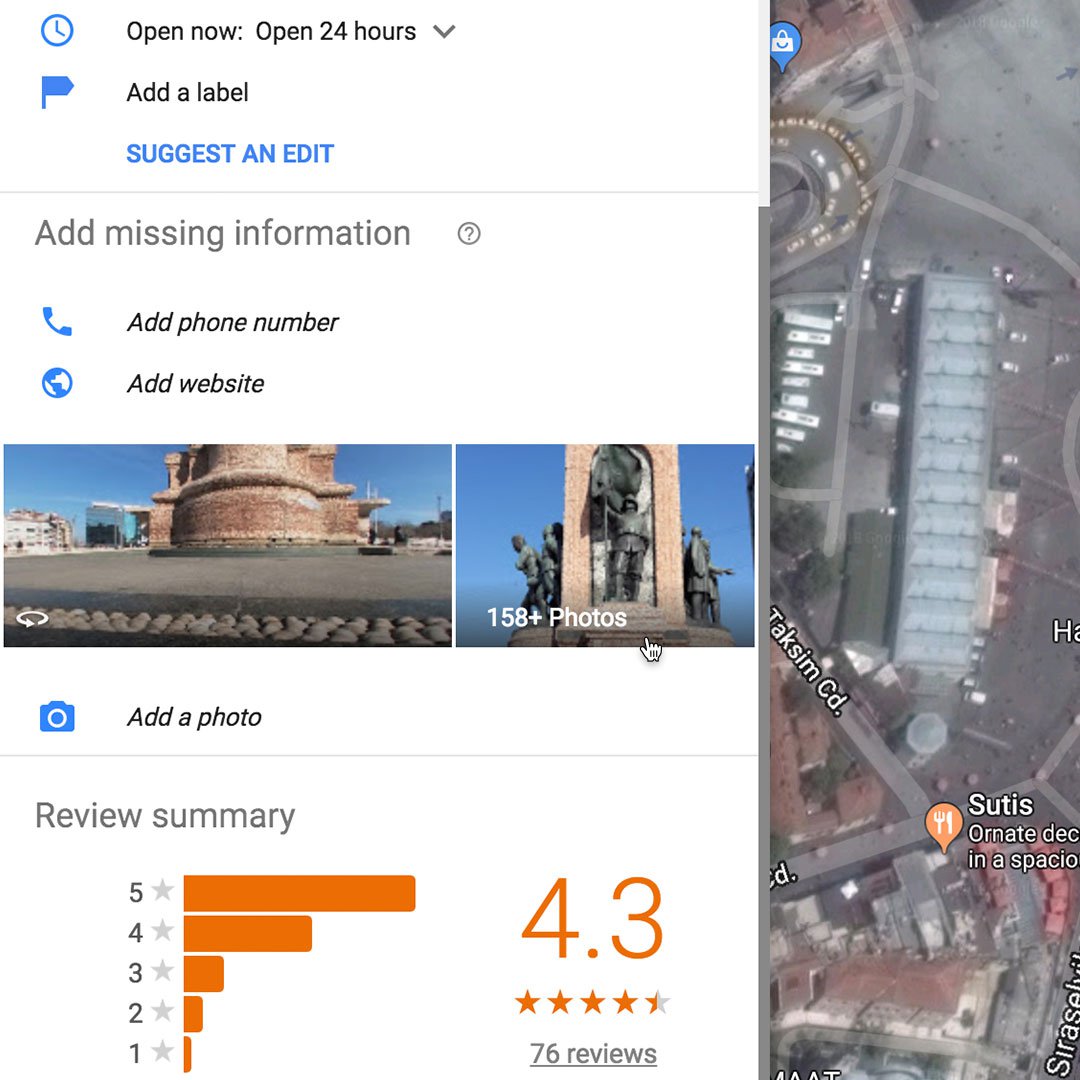
To continue narrowing your search for the photo’s location, save each clue you find helpful by clicking on it. This will mark it with a red pin and show details about the location.
Next, click Save in the left sidebar.
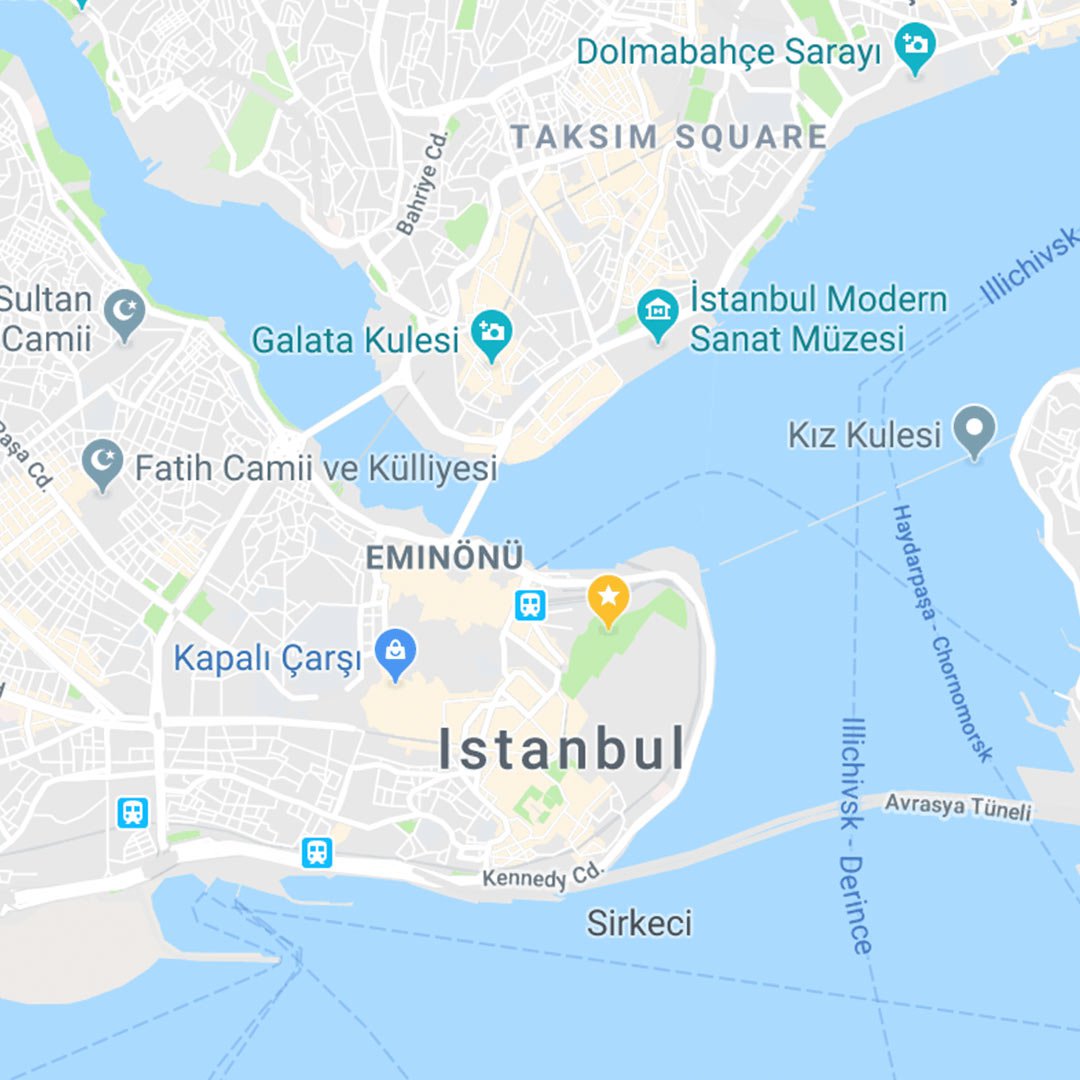
The location will now be marked with a yellow star and will remain marked even if you navigate to another location anywhere in the world.
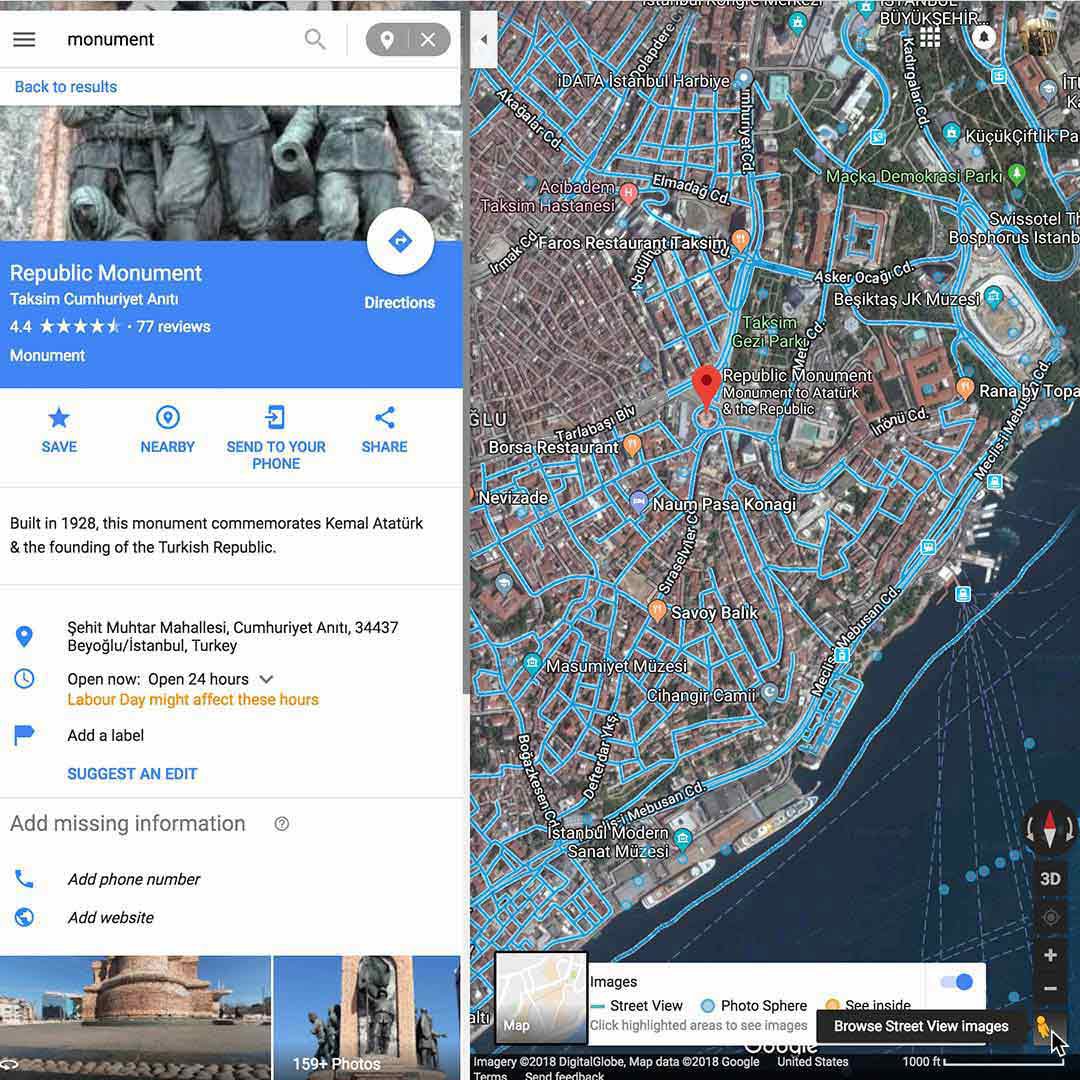
Cross-reference landmarks.

Steps
To further narrow down your location, it may be helpful to add more variables to your “nearby” search. In this case, the photograph shows a significant monument, so we can search for monuments that are near parks.
By cross-referencing multiple clues from your image, you can more efficiently track down your location.
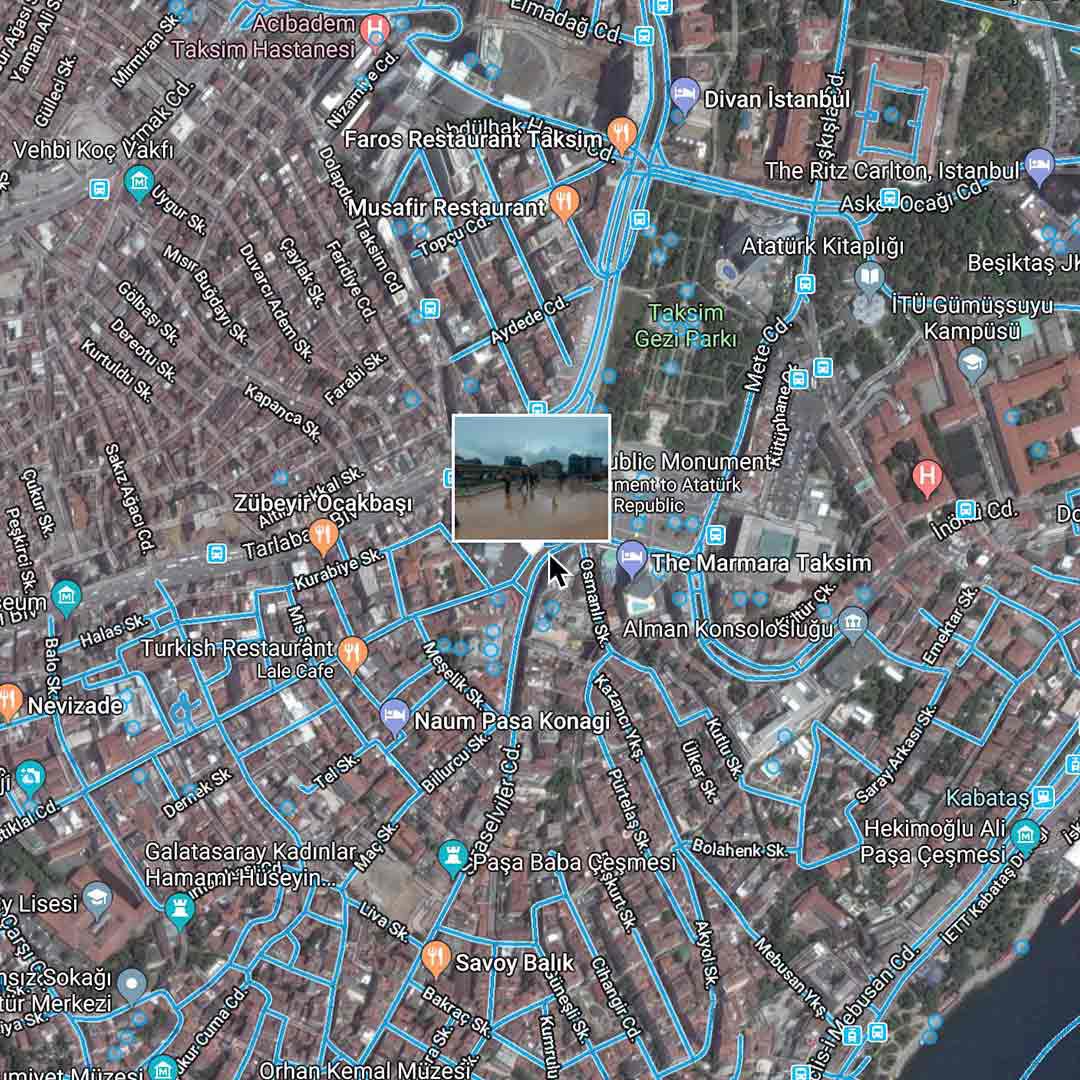
Use the yellow Pegman to explore the scene.
Steps
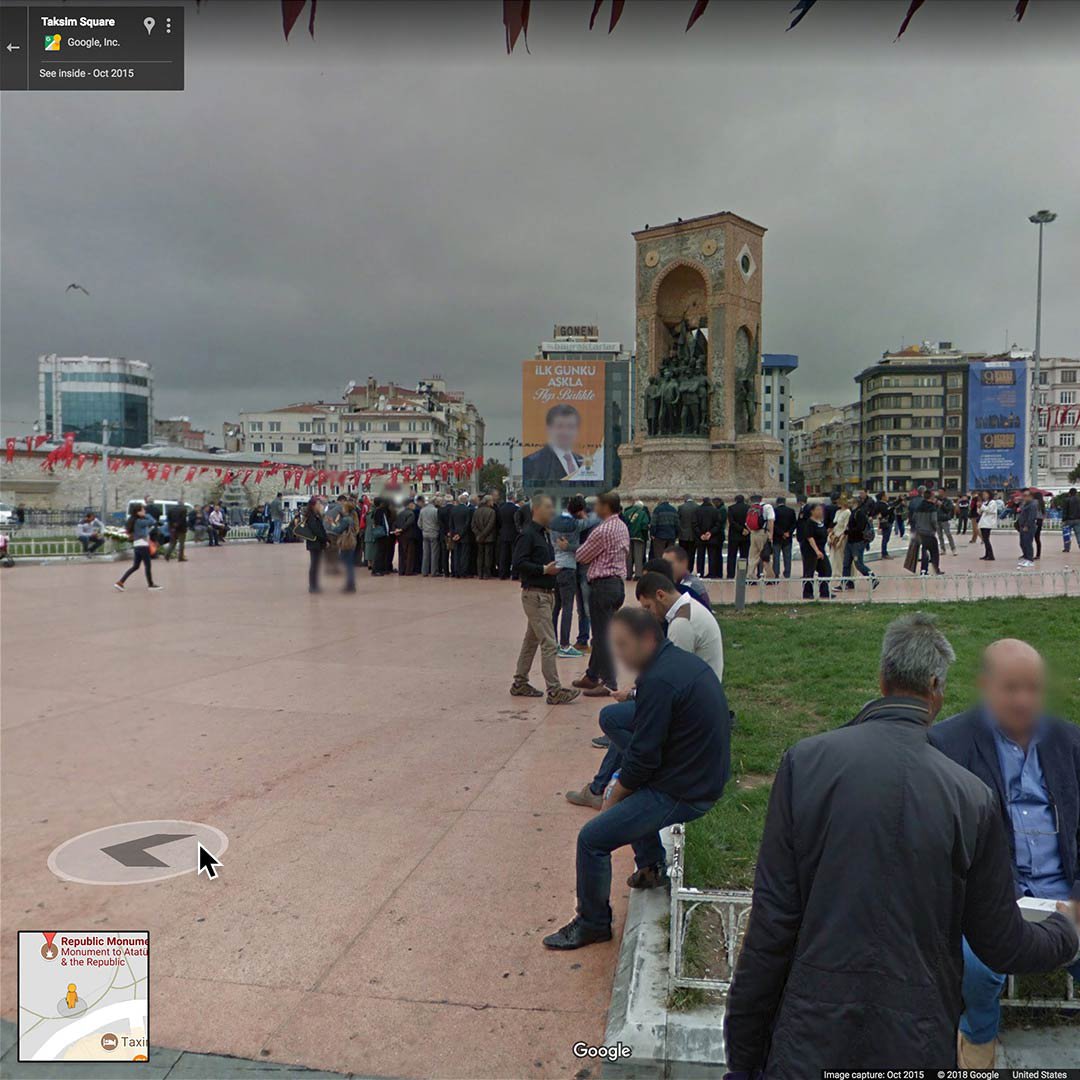
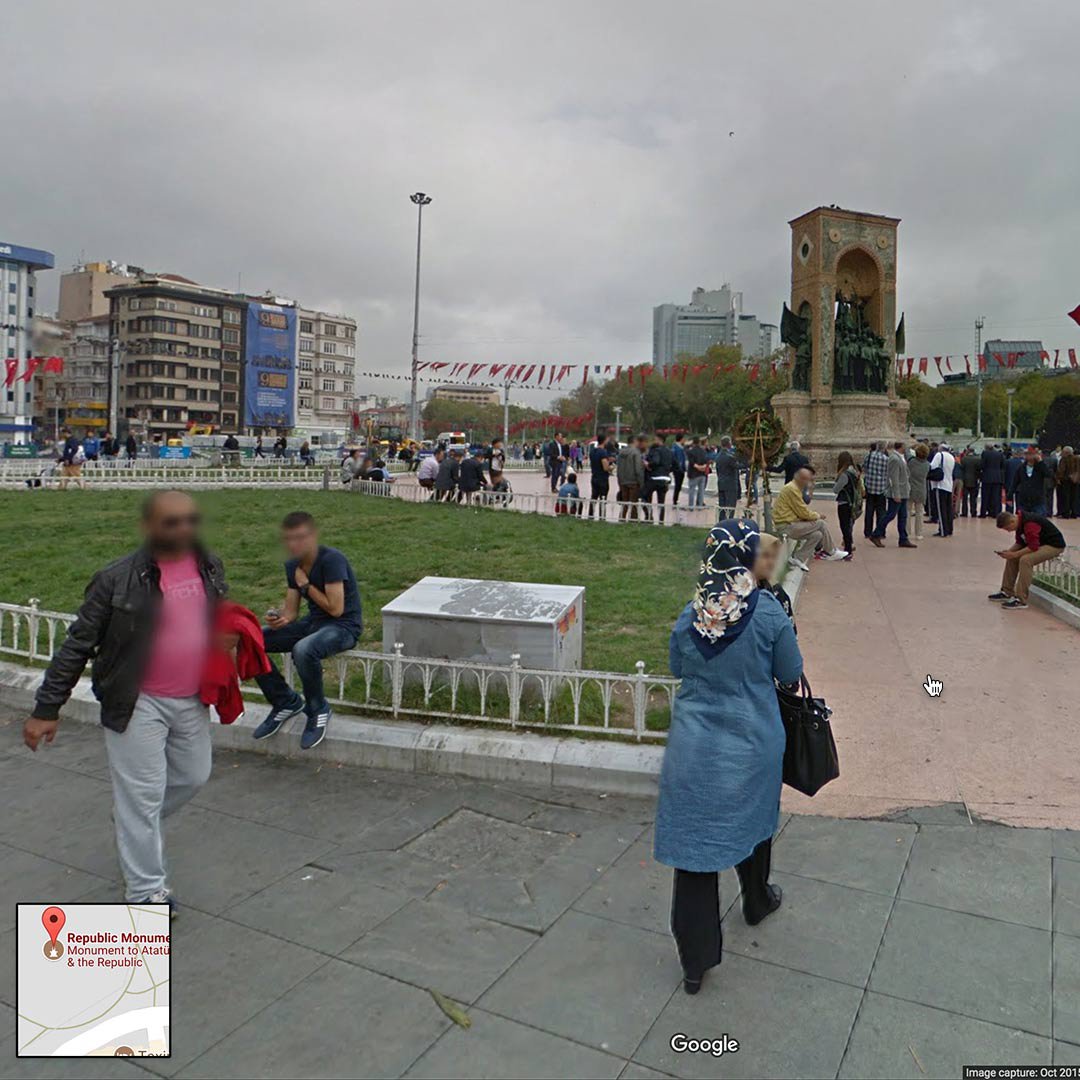
Now that you think you’ve found the right spot, click the Pegman to reveal the blue lines which will indicate where Street View is available.
Then, click on the place you want to view and the Pegman will “drop” you into Street View. Exploring the area at street level should help you establish the photographer’s position.
To move along the street, follow the arrows.
To jump to a different location, double click on it. You can keep track of your position in the map view box in the bottom-left corner of your screen.
See related images and photo credits.
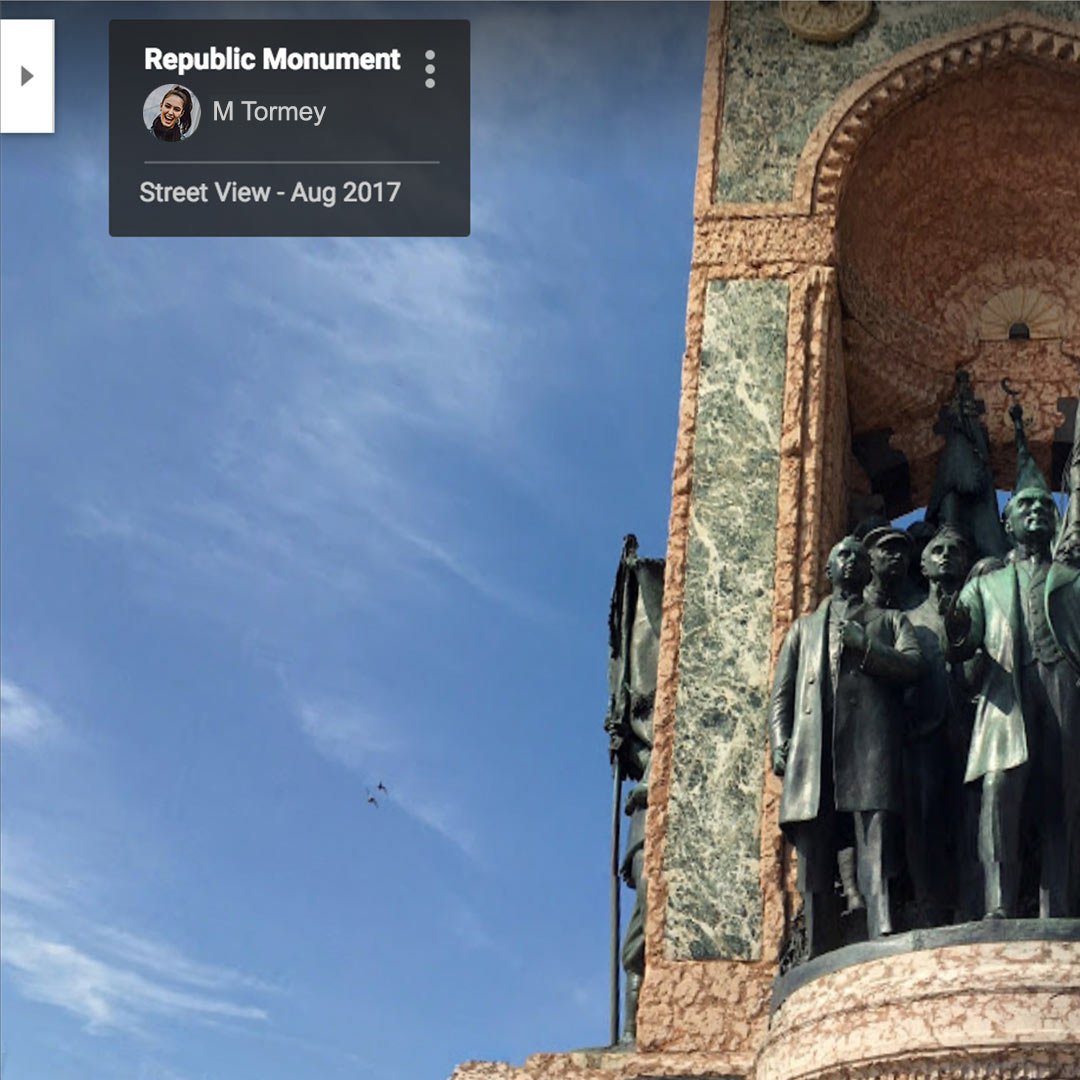
Steps
There are two types of imagery you’ll find in Google Street View: images captured by Google and user-generated photo spheres. The photo credit and time of capture is noted in the upper left-hand corner of the image.
To reveal other photographs from a location, scroll to the bottom of the panel on the left-hand side and click on image thumbnails. This may help you corroborate features that are harder to identify, such as brick work and signage.
Outsmart hoaxers.
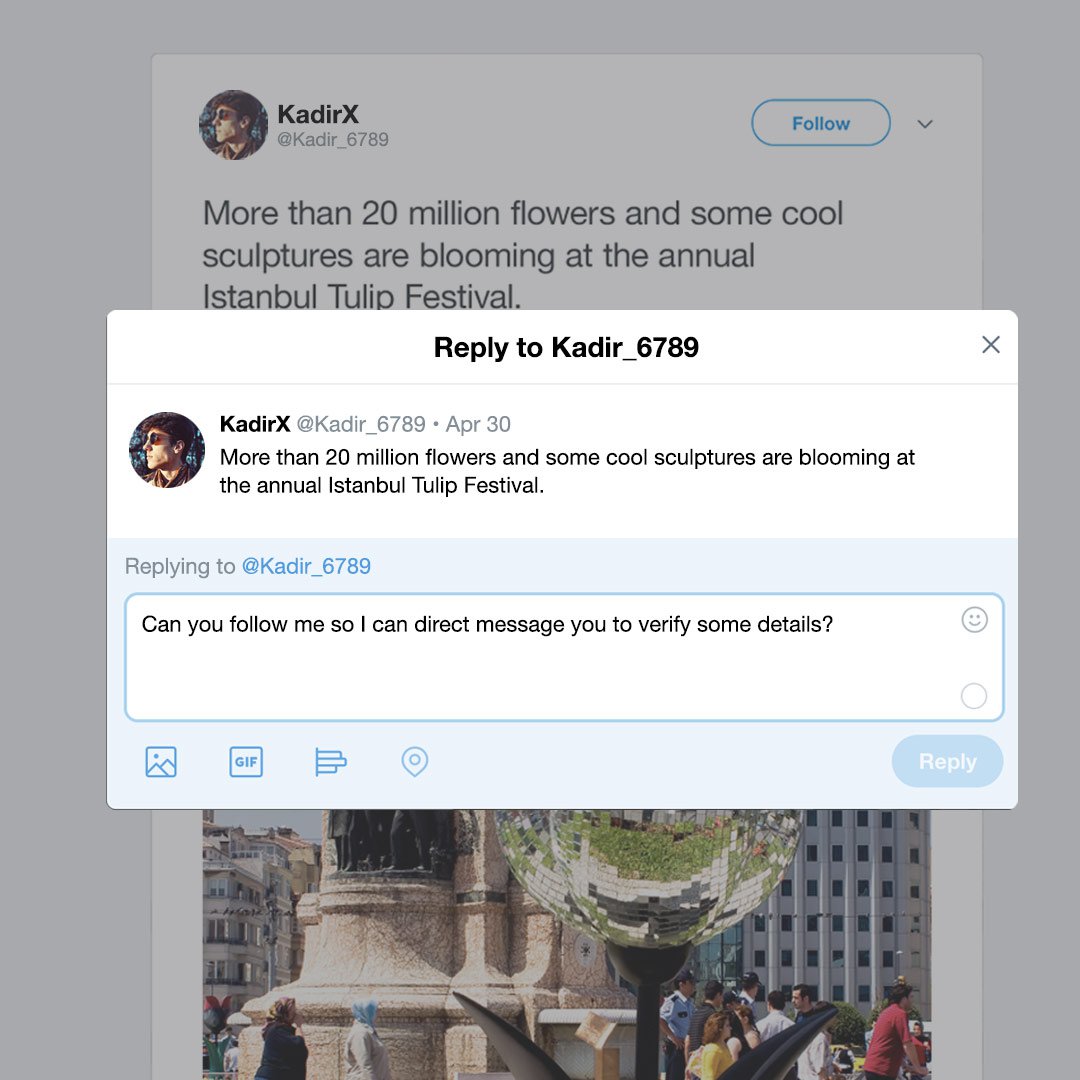
During a breaking news event, social media hoaxers often claim ownership of images that are being widely shared in real-time. If you’re able to speak to the source on the phone, you can ask where they are standing and what they can see, then use Google Street View to corroborate their answers. Alternately, you can reply to the post to open communication via direct message or other private methods.
LINKS: Learn more:
-
![1.7.jpg]()
Machine Learning, journalism and you
LessonHow machine learning is entering your personal and professional life. -
![LookingAheadToML-PoweredJournalism]()
Looking ahead to ML-powered journalism
LessonKey learnings and recommended resources to deepen your ML knowledge. -
![ProtectYourElectionCoverage]()
Protect your election coverage
LessonIn this module, we will look at tools to protect and secure your election coverage